...
Inside Camtasia - The Layout, Basic Editing, and Exporting
The Layout:
Once you have completed your recording, Camtasia will automatically open back up with your new footage inserted into the timeline. Camtasia works very similar to other video editing softwares, but very simplified and user friendly. Here is how the workflow in Camtasia is set-up: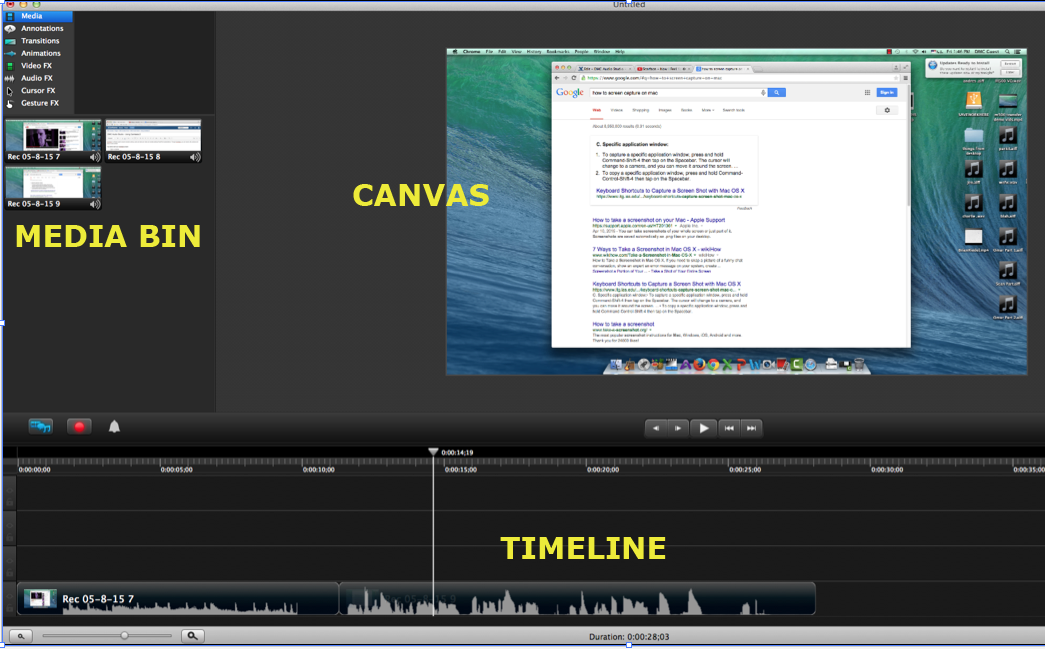
...
NOTE: If you dont want to edit your project at this point, you can skip the following steps and jump straight to export your recording. You can use different video editing software, such as iMovie or Final Cut Pro X, to edit your recordings later if you want.
Basic Editing:
Camtasia allows you to do most of the basic video editing tasks needed in a very straightforward manner. Let's look at how you can edit your video in the same order we looked at the layout.
...
- Choose from the menu what you wish to add to your project.
- Select specifically which clip/effect/transition you want to add under that category. Notice that when you click on an option, a preview pops up above it in the mini-preview window, giving you a better idea of what you will adding to your project and how to use it.
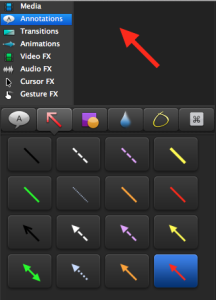
- Once you have selected the desired media to be inserted, simply "drag-and-drop" the item into your timeline to add it to your project. Different items, depending on what they are, can be added to empty space in the timeline, on top of existing clips, or between clips.
- ZOOMING IN: This is probably the most common drag-in option from the Media Bin. There are two ways to apply this effect under Animation. The first is with the media items "Zoom In" and "Zoom Out". Simply drag one of these options over the desired clip, and then adjust the length of the effect in the Timeline. The second is with "SmartFocus". Drag this one over a clip (the clip must light up with a yellow border in order for this effect to be applicable) and Camtasia will automatically select focus points during your video to zoom in and out of. These zoom times can also be edited in the Timeline.
...
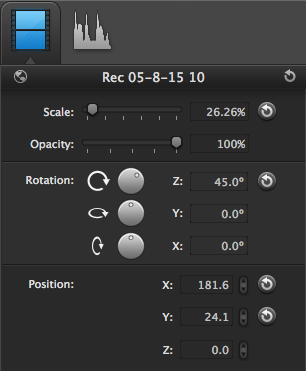
- Anything added to the canvas can be moved by clicking and dragging it in the canvas window.
- If you want to re-size or adjust items on the canvas, you can do so either by clicking the small white circles that appear on the edges of canvas items and clicking and dragging, or by using the options shown on the right of the canvas after clicking on the item you want to adjust.
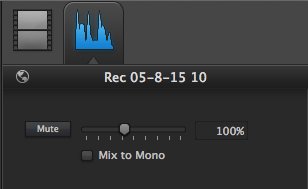
- Similarly, if you want to adjust the audio, select the audio editing tab after clicking on the item in the canvas.
Exporting:
- Once you are satisfied with your project and have watched it from beginning to end, you can export it. To do so, click on "Share" at the top of the screen:
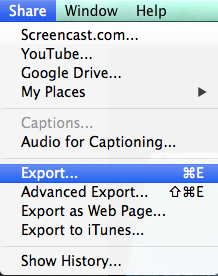
- From here, you can choose to export it directly to several different programs such as Youtube, in which you'll need your login information to do so. However, a regular export is the most common and will convert your project into a file you can then view it from your computer or upload it.
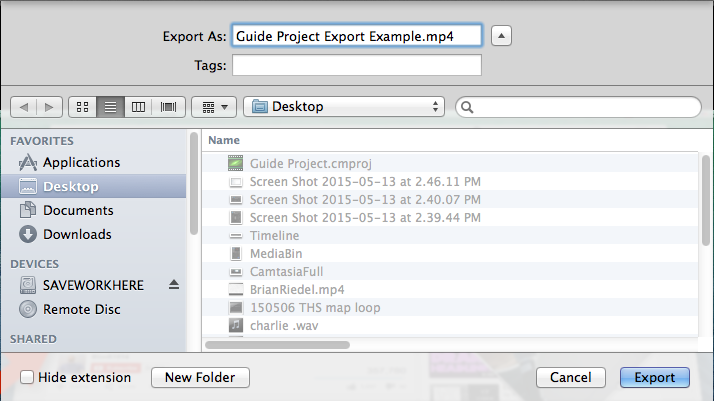
- Click on "Export...". For most users, the default settings are enough to satisfy expectations and produce a quality video worth sharing. Name your file and then choose the location on your computer (such as your desktop or SaveWorkHere folder) where you wish your project to be saved.
- Advanced Export: If you have specific requirements and wish to access more advanced settings, then you can choose "Advanced Export..." under "Share", where you can select the format you want your file in and other specifications under "Options...", such as the frame rate, dimensions, and quality of your video. (Note: You can choose the resolution of the exported video, but the only way to enhance the quality of the actual footage captured is by choosing a larger, thereby more resolute, capture area in the recording phase.)
...