...
A challenging part of creating a good chroma key is shooting the chroma key video, and in particular, using a good, well-lit background that provides a uniform color to remove. Additionally, it is important to use the best camera you can access and avoid using a highly compressed video format such as DV or MPEG-2 (from Apple support site: https://support.apple.com/kb/PH12665?locale=en_US).
DMC Video/Photography Studio is an ideal place to record your green screen footage, as it has green screen wall, 5 ceiling mounted LED lights, 2 stand lights, and a set of professional equipment reserved for the studio. For more information about the video studio resources, visit our website at http://library.rice.edu/equipment/dmc-video-and-photography-studio-b42e . The DMC also offers an array of equipment for free checkout, so alternatively, you may check out a portable green/blue screen from the DMC to record anywhere else.
There are several things to keep in mind when you use DMC Video/Photography Studio to record green screen footage:
- Subject should avoid wearing any green color.
- Be sure to position your subject at least 2 feet away from the green screen wall , so to minimize the reflection of the screen on your subject, and no shadow should cast upon the wall.
- Turn on the mounted LED lights to its full color and density.
- Light up the background evenly with two additional stand lights set at a 45° angle. Try not to cause hot spots on your subject.
- Position your camcorder far enough from the subject to attain the desired view.
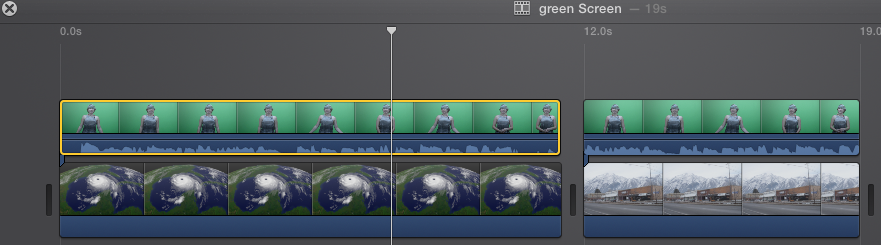
Refer to the following image for your subject position and lighting set-up.
 The DMC also offers an array of equipment for free checkout, so alternatively, you may check out a portable green/blue screen from the DMC to record anywhere else.
How to use Chroma Keying effects?
Both iMovie and Final Cut Pro X provide Chroma Key effect. If you want to simply replace the green screen with your desired background image or a video clip, you may use iMovie green screen effect. iMovie green screen effect is simple to use, but very limited in term of doing further adjustments. Chroma Keying in Final Cut Pro X, however, is much more flexible and powerful.Use Green Screen Effects in iMovie :
- To use green screen in iMovie, first you need to start with an empty project and select the background you would like to use.
- Drag and drop the background video or image into the timeline.

- If the image has a zoom or other similar effect, click on the Adjust button, and select the Fit button if the image is already in the right aspect ratio, or Crop to Fill to resize it to fill the background, unless you prefer to use the default Ken Burn effect.
- Select the green screen footage you want to use and drag and drop it above the background.
- To make the background longer or shorter to match your green screen footage, drag the edge of the background.
- Click to select the green screen footage in the timeline, then click the drop down menu that defaults to Cutaway above the left corner of the viewer window and select Green/Blue Screen.
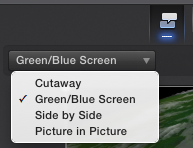
- The green should now be removed to reveal the background behind it.


- You may further adjust the softness by using the slider tool, crop the green screen clip with frame tool, or drag across a green or blue area that is still showing with eraser tool.

Use Green Screen Effects in Final Cut Pro X