Instructions
- Step 1: Prepare to checkout the lab_1 project from subversion
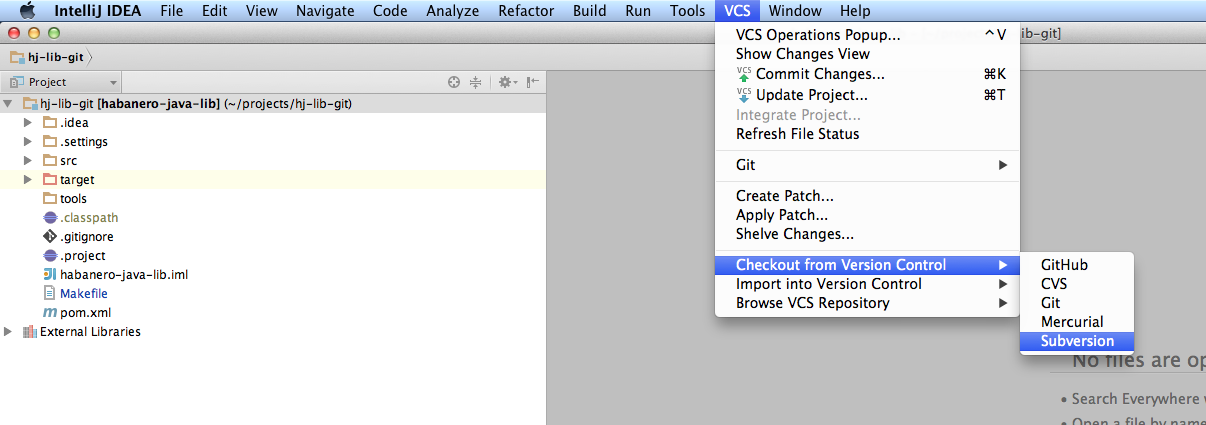
- Step 2: Use the "+" button to add the repository: https://svn.rice.edu/r/comp322/turnin/S15/NETID/lab_1/

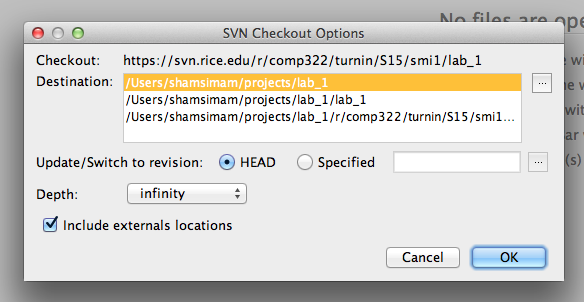
- Step 3: Confirm the directory where the directory where the project will be downloaded to.
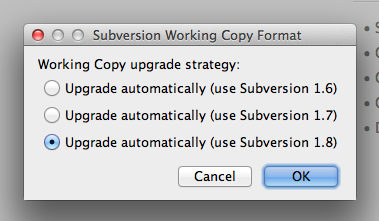
- Step 4: Confirm the subversion version to use for the directory format.
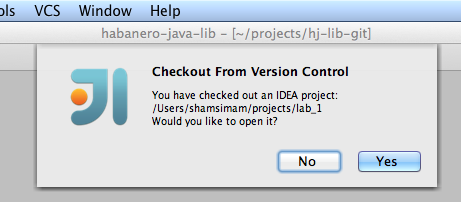
- Step 5: After the project is downloaded successfully, confirm to open the project.
- Import as a Maven project. Right-click pom.xml, and select "Add as Maven Project". This option is towards the bottom of the options list. Once you have done that, again right-click on the same pom.xml le and you should now see a "Maven" option towards the bottom of the list. Click on Maven > Reimport to be sure IntelliJ has pulled in the JARs for this project. Finally, go to File > Project Structure and in the pop up select "Modules" from the left menu. You should see three JARs listed in the central pane: hjlib-cooperative:0.1.8, asm-all:5.0.3, and junit:3.8.2. Check the checkboxes next to each, hit "Apply" at the bottom right of the window, and close the window by clicking "OK".

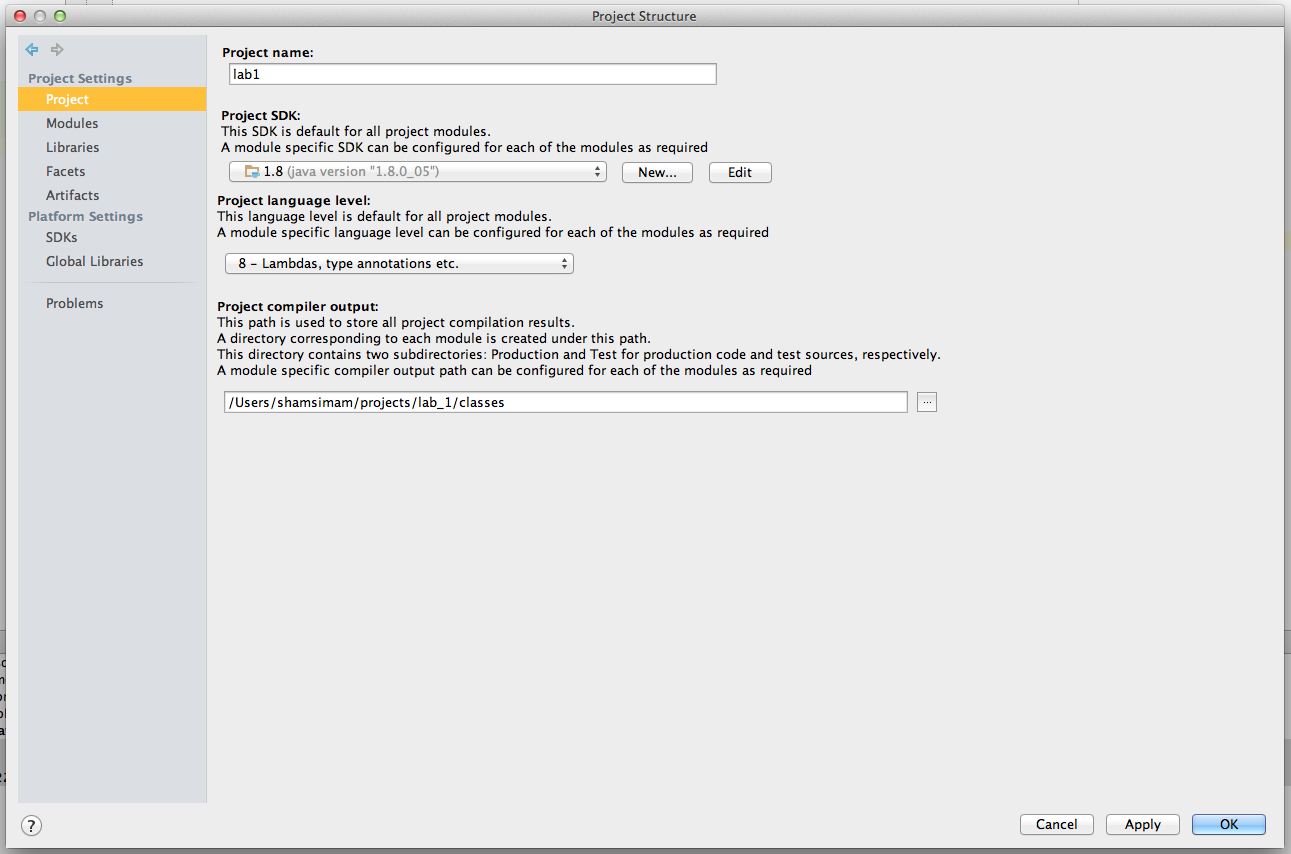
- Check the appropriate JDK is selected. Navigate to File > Project Structure and verify that in the "Project" pane you have \1.8" selected as the \Project SDK.
- Step 6: Enable Auto-Import for this Maven project (lab_1).
Step 7: Initial directory layout of the project.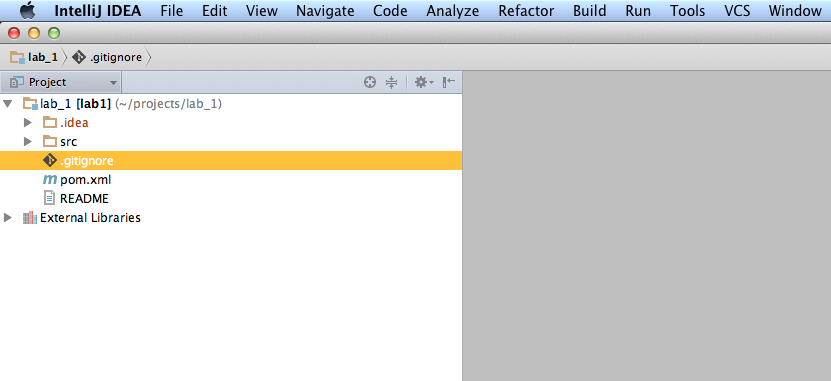
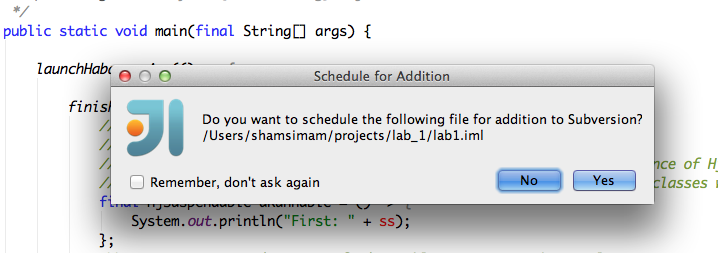
- Step 8: Click on "NO" when a popup shows up asking you whether you want to add an *.iml file to subversion.
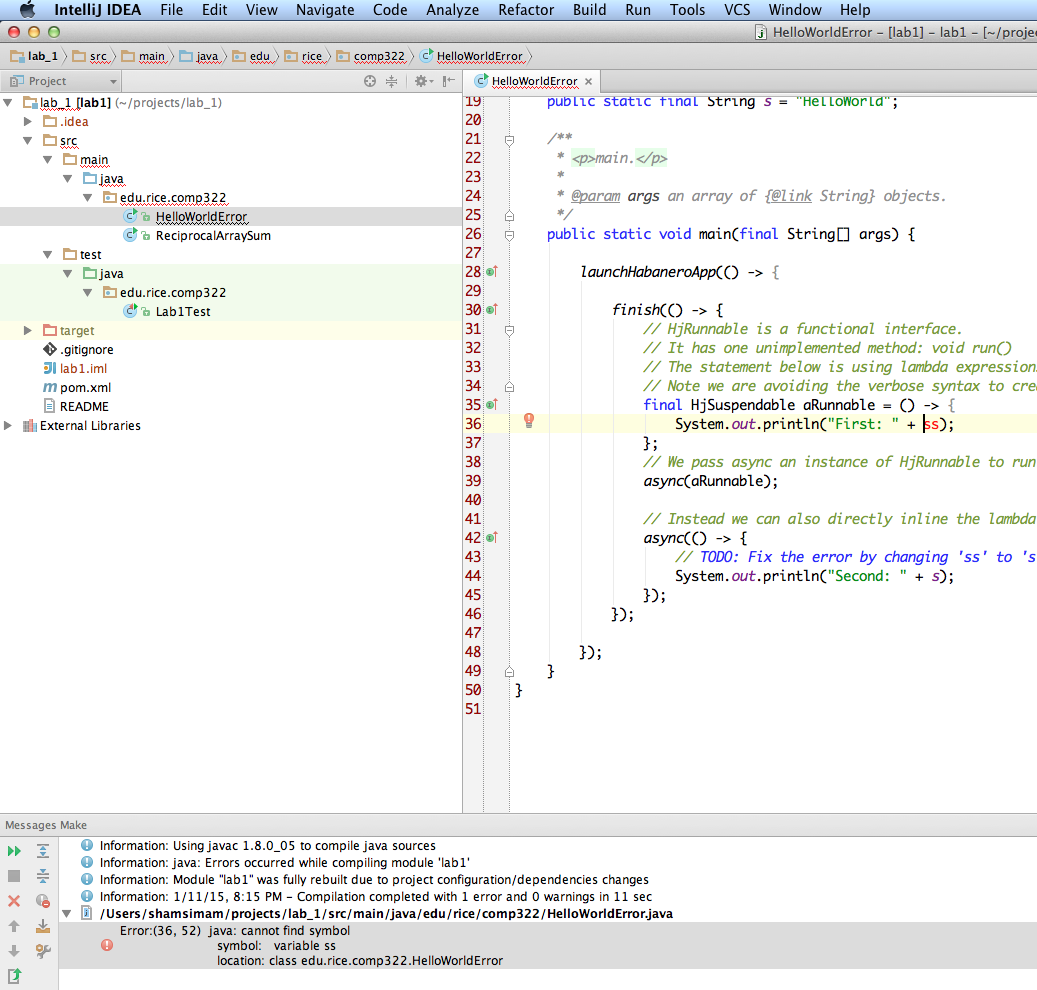
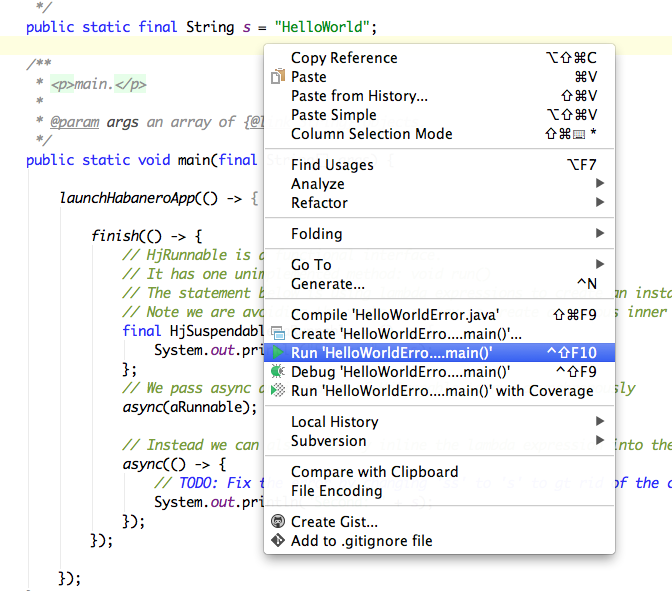
- Step 9: Open the HelloWorldError.java file by double clicking on it. Fix the error by editing the "ss" variable.
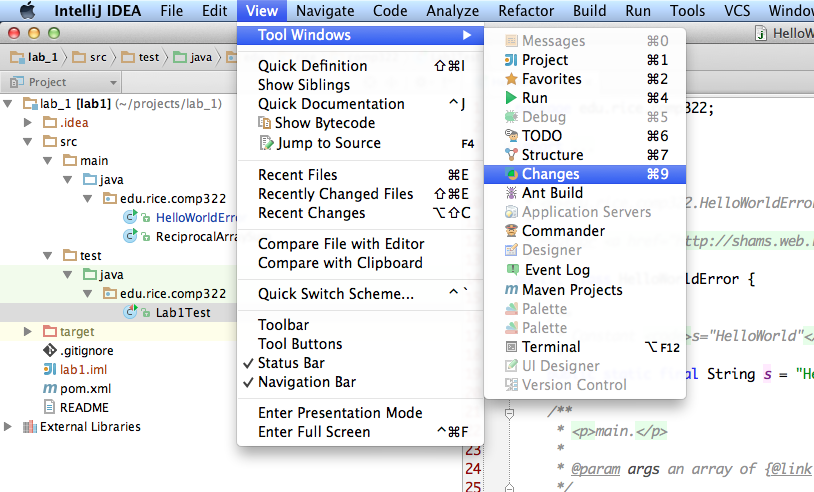
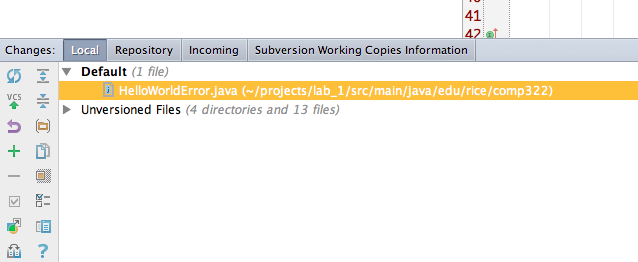
- Step 10: Open the "Changes View" so that you can see your edits.
- Step 11: The changes view will show you the files you have edited.
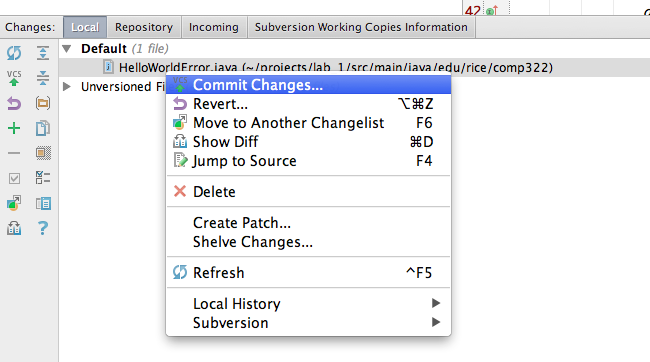
- Step 12: Submit your changes to the subversion repository by committing the changed files (right-clicking on the Default or HelloWorldError.java file in the Changes view).
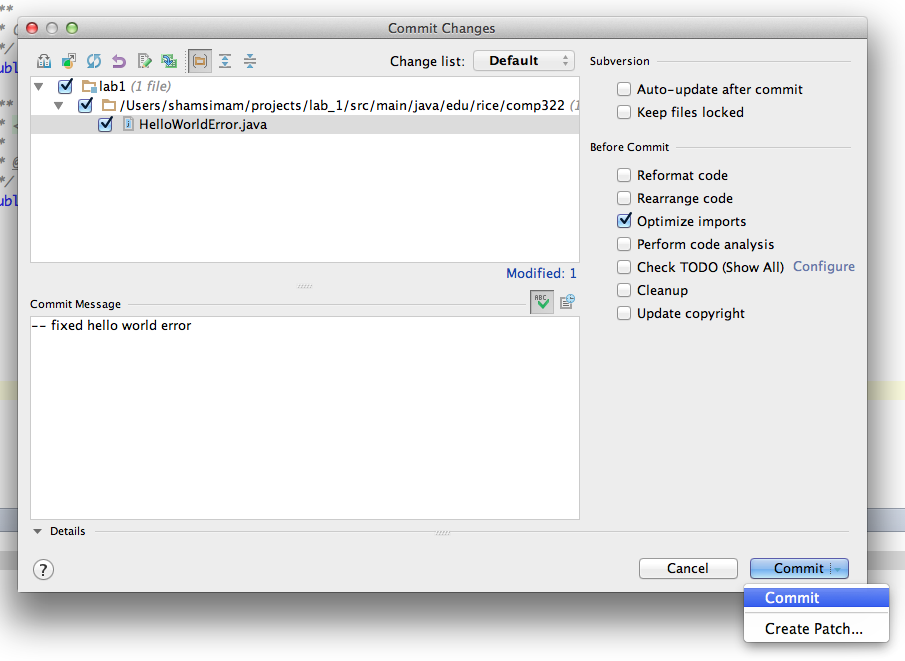
- Step 13: Add a commit message and commit the file.
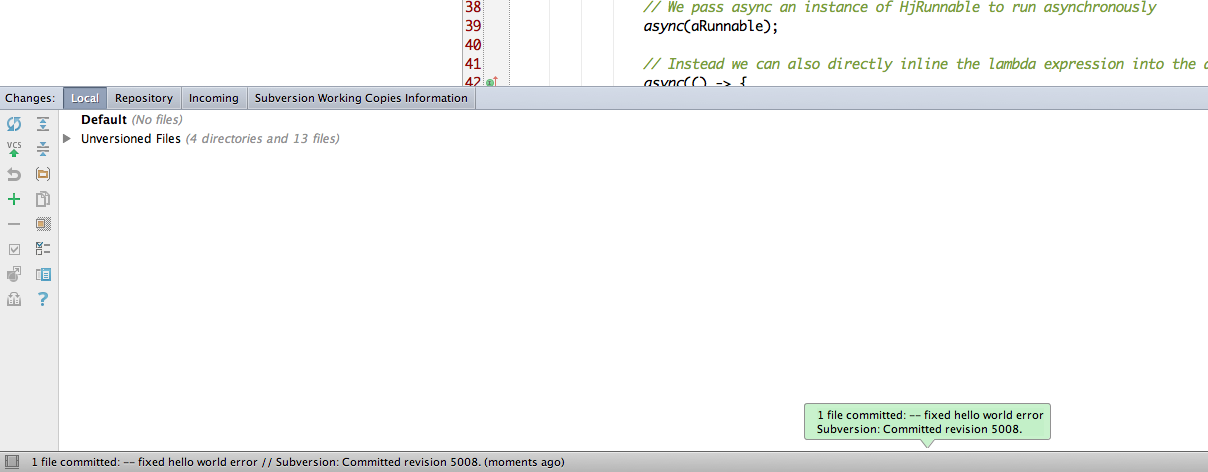
- Step 14: Confirm that you see the successfully committed message to ensure that your changes have been submitted to the repository.
- Step 15: Attempt to run the HelloWorldError program by right-clicking on it and selecting the run option. This should fail as the javaagent option has not been set up. To configure the javaagent option we need to know the path to the HJlib jar file. Maven has already automatically downloaded this jar file for you, we can look up the path in the project.
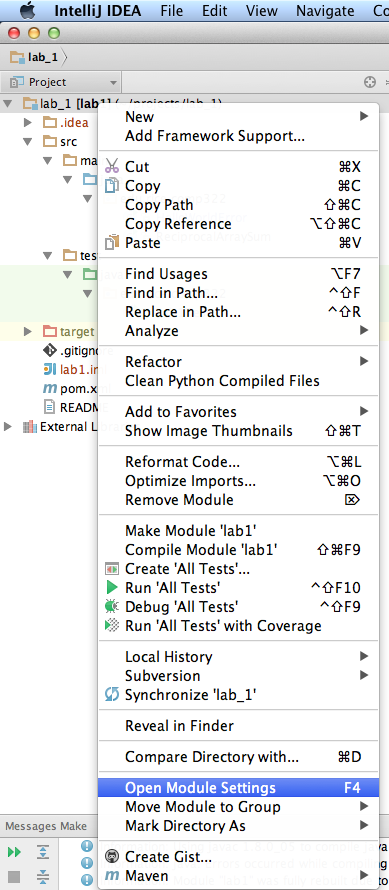
- Step 16: Open the Module Settings
- Step 17: Next ensure that the Project Language Level is set to 8.
- Step 18: Click on the Libraries option to reveal the path for the hjlib jar file. On my machine it is located at
/Users/shamsimam/.m2/repository/edu/rice/hjlib-cooperative/0.1.4-SNAPSHOT/hjlib-cooperative-0.1.4-SNAPSHOT.jar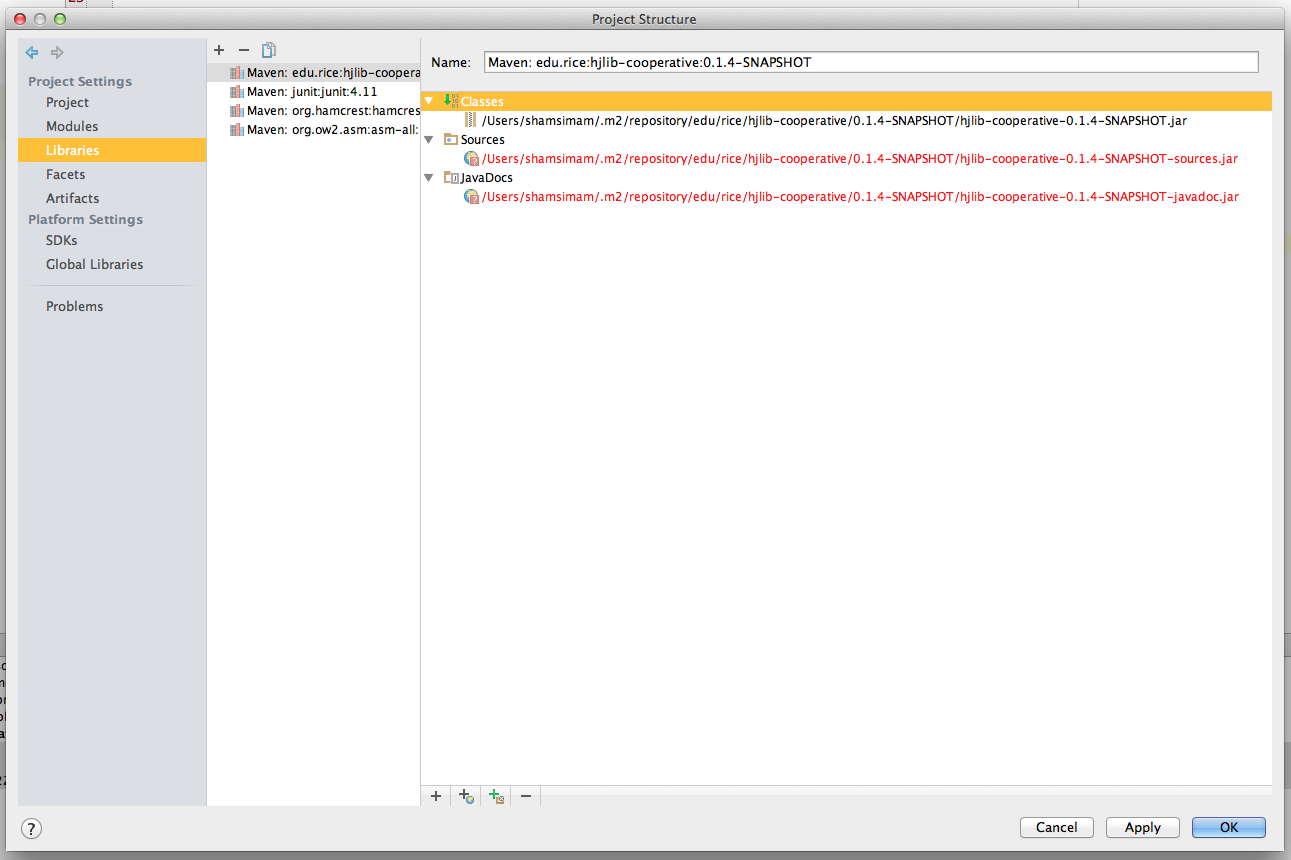
- Step 19: Now that we know the path, we are ready to edit the run configuration and insert the javaagent option.
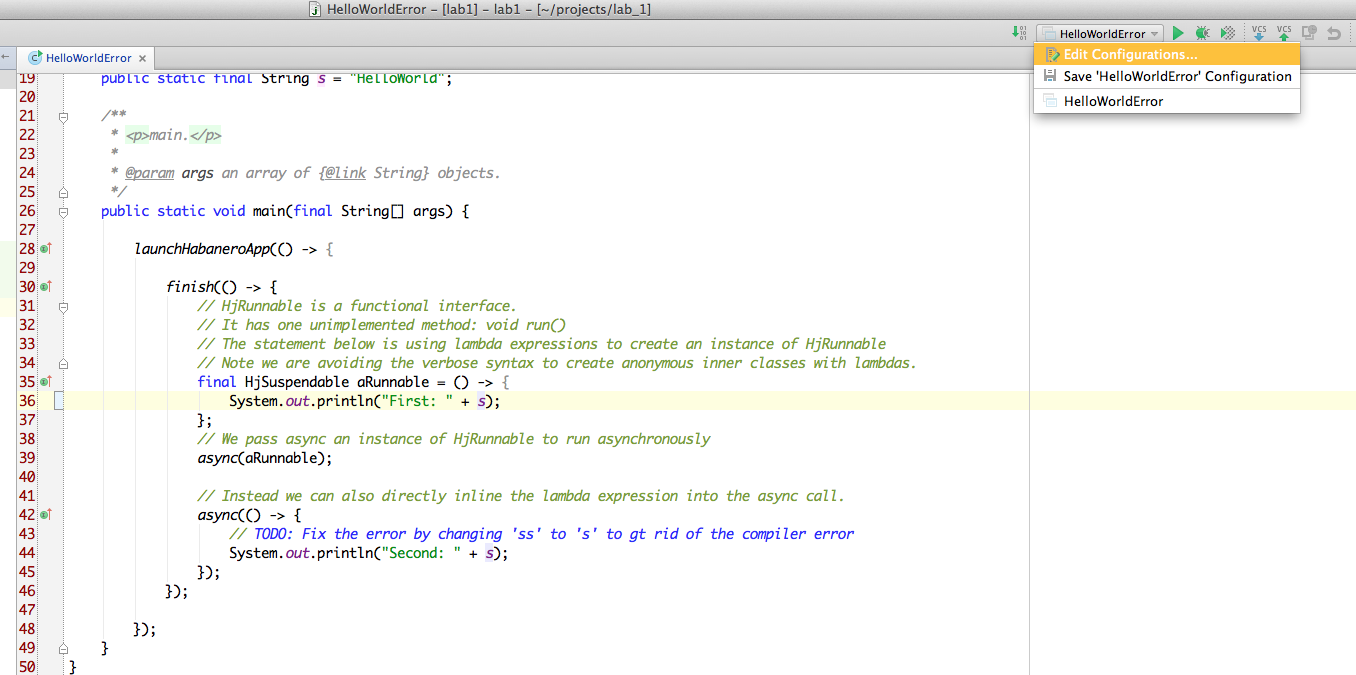
- Step 20: Under the VM Options textfield insert
-javaagent:/Users/shamsimam/.m2/repository/edu/rice/hjlib-cooperative/0.1.4-SNAPSHOT/hjlib-cooperative-0.1.4-SNAPSHOT.jartext and click OK to save the configuration. 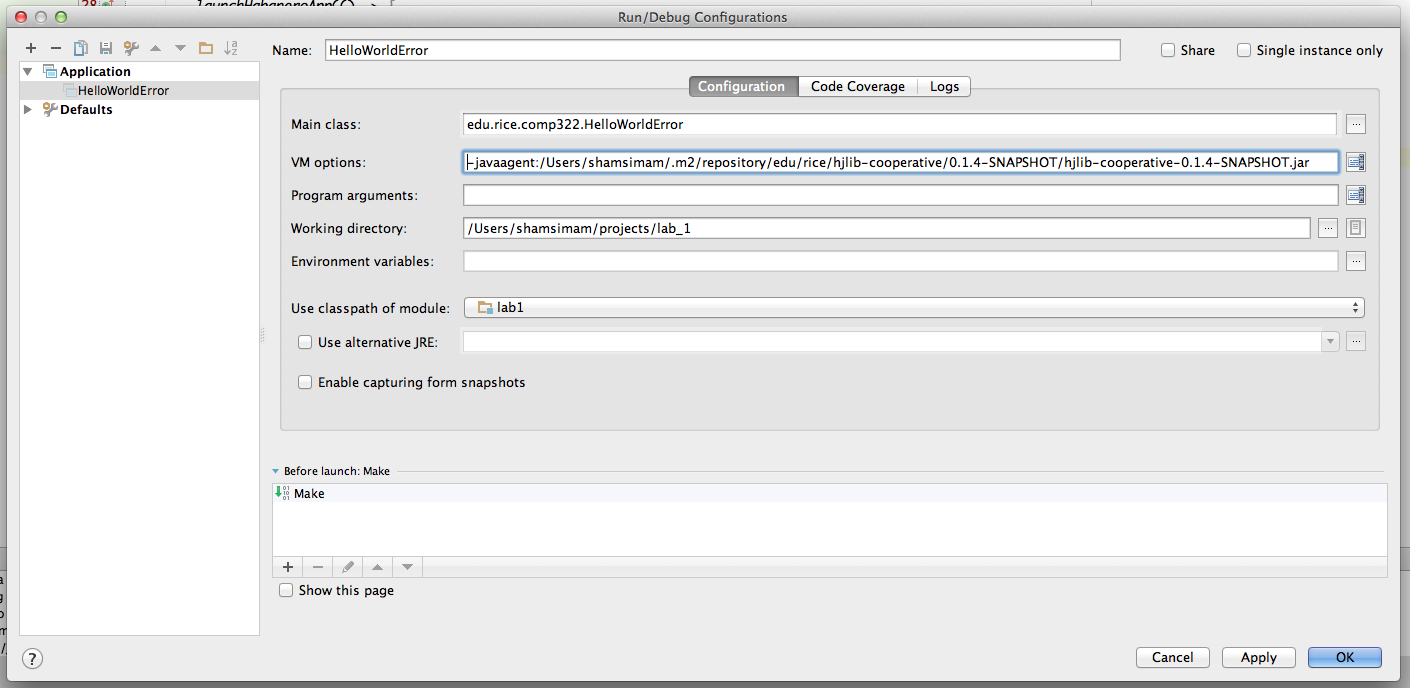
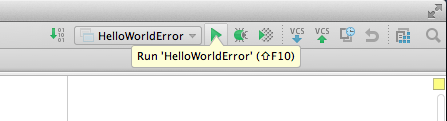
- Step 21: Now, click on the green play button to run the HelloWorldError.java file wiht the correct VM configurations. The class should be run successfully and you should see the output as below.

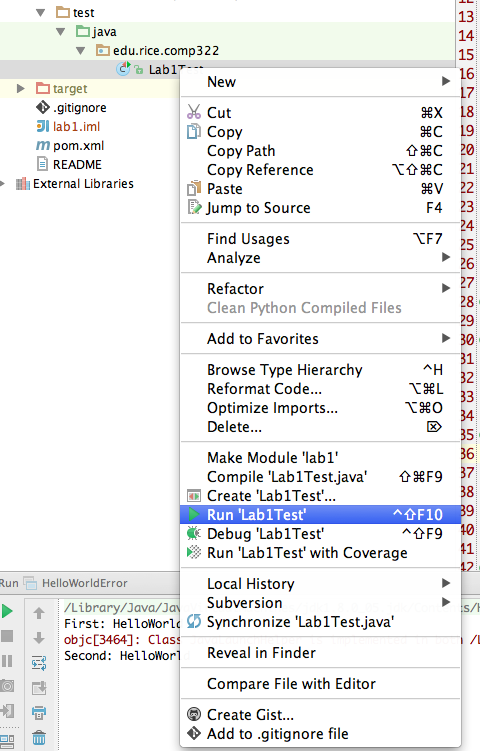
- Step 22: First attempt to run the unit test by right-clicking on the file and selecting Run. This will fail as the javaagent flag has not been set up.
- Step 23: Prepare to edit the configurations for the unit test.

- Step 24: Like in Step 20, ensure that the javaagent flag has been correct passed as a VM option to run the Unit test.

- Step 25: Note the red bar displaying that the Unit test has failed. After you successfully complete the second part of the lab by correctly parallelizing the reciprocal sum, this unit test should pass and you should see a green bar.

...