...
- In the Catalog pane, expand the Folders folder.
- Expand the Imagery folder.
Right-click the aerial.jpg raster image and select Add to Current Map.
Info title Tip If the Add to Current Map command does not work, you can click the Add Data button within the Map tab on the ribbon and then browse to and select the same JPEG image file.
- In the Table of Contents, right-click the aerial.jpg layer and select Zoom to Layer.
- In the Table of Contents, right-click the streets layer and select Zoom to Layer.
...
- In the Table of Contents, uncheck the parking and sidewalks layers to make the aerial image easier to view.
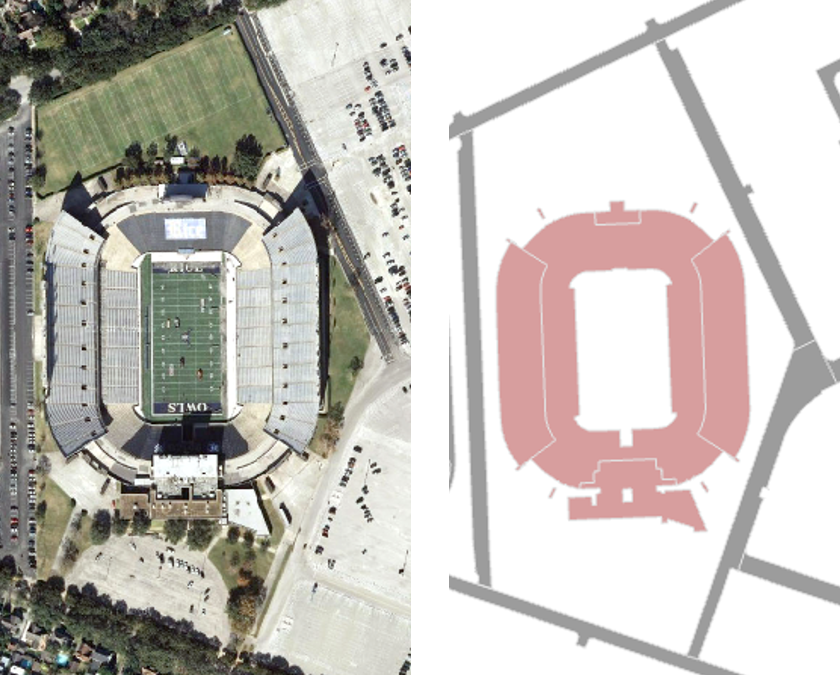
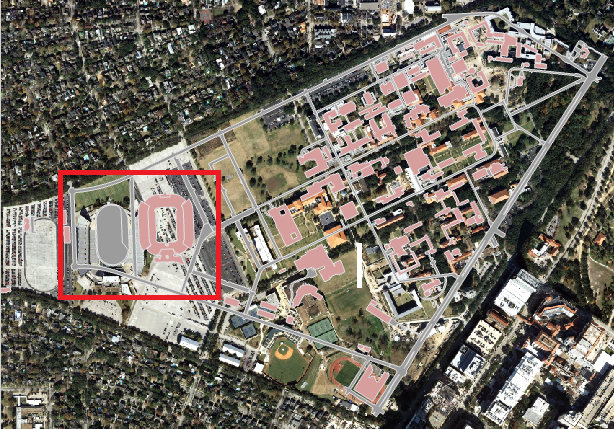
On the western portion of campus, visually identify the football stadium in both the aerial layer and the buildings layer.
Hold down Shift and your cursor should switch from a pointer finger to a magnifying glass with a plus sign.
Info title TipIf you don't see the proper cursor, then you may need to select the Explore button on the Map tab in the ribbon.
- Click and drag a box around the football stadium in both layers to zoom in to the area in which you will add your first control point.
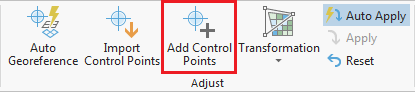
On the ribbon, on the Georeference tab, click the Add Control Points button. Your cursor will change to a crosshair.
Click on the southwest corner of the upper deck of the stadium in the aerial layer.
Info title TipIf your first click is on an unintended location, press Esc to remove the point. Then click the Add Control Points button again to resume adding a point.
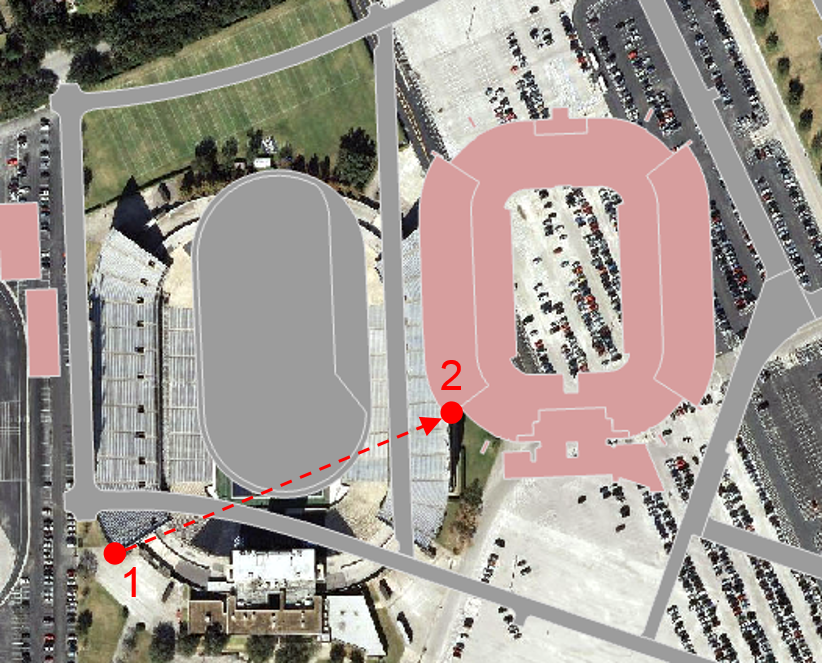
With a line linking to the first point you clicked on, click on the southwest corner of the upper deck of the stadium on the buildings layer.
Info title TipIt is fine to zoom in and out by scrolling the scroll wheel or to pan by clicking and holding your scroll wheel button while moving the mouse in between clicking on the two control points if they are not both visible on your screen.
If your second click is on an unintended location or you clicked on the two points in the opposite order, then, on the Georeference tab, in the Review group, click the Select Control Point button.

Then click on the erroneous control point on your map. The control point symbol will change from a larger red circle with an X through it to a smaller red box when it is selected. Once the control point is selected, go back to the Review group on the Georeference tab and click the Delete Selected Control Point button.
If you make a mistake on your first control point, so that removing the erroneous point results in removing all points, then the image will disappear from view and you will need to start again by zooming to the streets layer and the clicking the Fit to Display button. Click the Add Control Points button to resume adding a point.
...