...
- In the ribbon, click the Map tab.
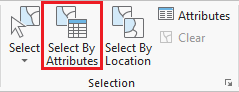
- In the Selection group, click the Select By Attributes button to open the Select Layer By Attribute tool in the Geoprocessing pane.
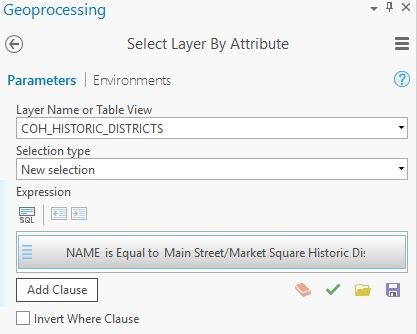
- In the Geoprocessing pane, ensure the COH_HISTORIC_DISTRICTS layers is selected.
- Click the Add Clause button.
- Use the drop-down menus to build the following expression: NAME is Equal to 'Main Street/Market Square Historic District' and click the Add button.
- Ensure your Geoprocessing pane appears similar to that below and click Run.
- On the the Map tab, in the Selection group, click the Clear button to clear the selected features.
Selecting Features By Location
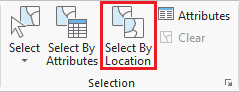
- In the Selection group, click the Select By Location button to open the Select Layer By Attribute tool in the Geoprocessing pane. Select bus stops within neighborhood.
- Select bus routes within 100 ft of bus stop in neighborhood.
Now we will create a
...
map of the historic district at risk of flooding due to proximity of a river. We could continue to do our mapping within the existing map, but, since we are now focusing on different thematic layers in a different geographic extent, this could be a good time to create a second map within our project.
- On the ribbon, click the Insert tab.
- In the Project group, click the New Map button.
- At the bottom of the Geoprocessing pane, click the Catalog pane tab.
- Rename My NeighborhoodHistoric District Flood Risk and add MyNeighborhoods, BusStops and BusRoutes. In the Selection group, click the Select By Location button to open the Select Layer By Attribute tool in the Geoprocessing pane. Select bus stops within neighborhood.
Select bus routes within 100 ft of bus stop in neighborhood.
Exporting Selected Features
...