...
- In the ribbon, click the Map tab.
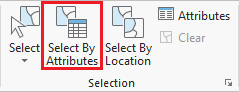
- In the Selection group, click the Select By Attributes button to open the Select Layer By Attribute tool in the Geoprocessing pane.
- In the Geoprocessing pane, click the Add Clause button.
- Use the drop-down menus to build the following expression: Name is Equal to 'YOUR_NEIGHBORHOOD_NAMEUNIVERSITY PLACE' and click the Add button.
- Ensure your Geoprocessing pane appears similar to that below and click Click Run.
Exporting Selected Features
...
- On the ribbon, click the Insert tab.
- In the Project group, click the New Map button.
- At the bottom of the Geoprocessing pane, click the Catalog pane tab.
- Rename My Neighborhood and add MyNeighborhoods MyNeighborhood, BusStops and BusRoutes.
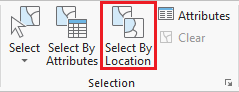
- In the Selection group, click the Select By Location button to open the Select Layer By Attribute tool in the Geoprocessing pane. Select bus stops within neighborhood.
- Select bus routes within 100 ft of bus stop in neighborhood.
...
- On the ribbon, click the Insert tab.
- Click the New Layout button.
- If you wanted to create a custom image size for insertion into a report or presentation, you could select Custom pages page size ... at the bottom of the options, but for a full page layout, select Letter 8.5" x 11" at the top left of the options.
...
- On the ribbon, click the Share tab.
- Click the Export Layout button.
- On the left, click the Desktop folder.
- Double-click the Intro folder.
Discuss export file types and resolutions. - For 'Resolution (DPI)', type "300".
- Click Export.
...