...
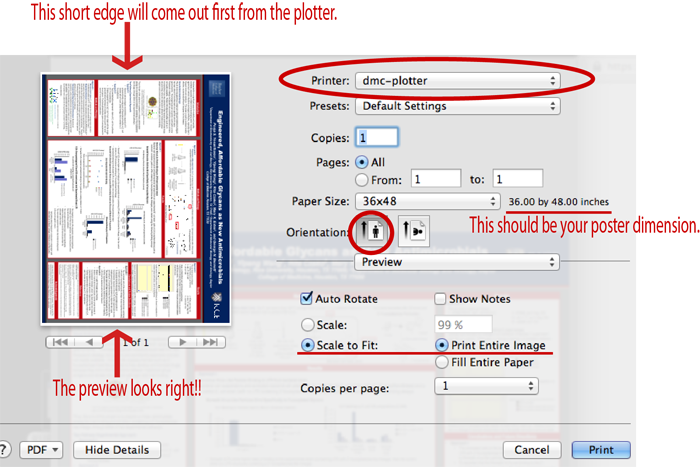
(The following guide uses a 36"x48" poster printed on a 36" wide roll as an example to illustrate the printing process. The settings indicated here allow the short edge (i.e. 36" side) to come out first from the plotter. If you print 48"x54" poster, you would need to load 60" paper, then adjust the settings accordingly to allow 54" edge come out first in order to save paper and reduce poster cost.)
- Load your PDF file on any Mac station 11 and open it with Preview.
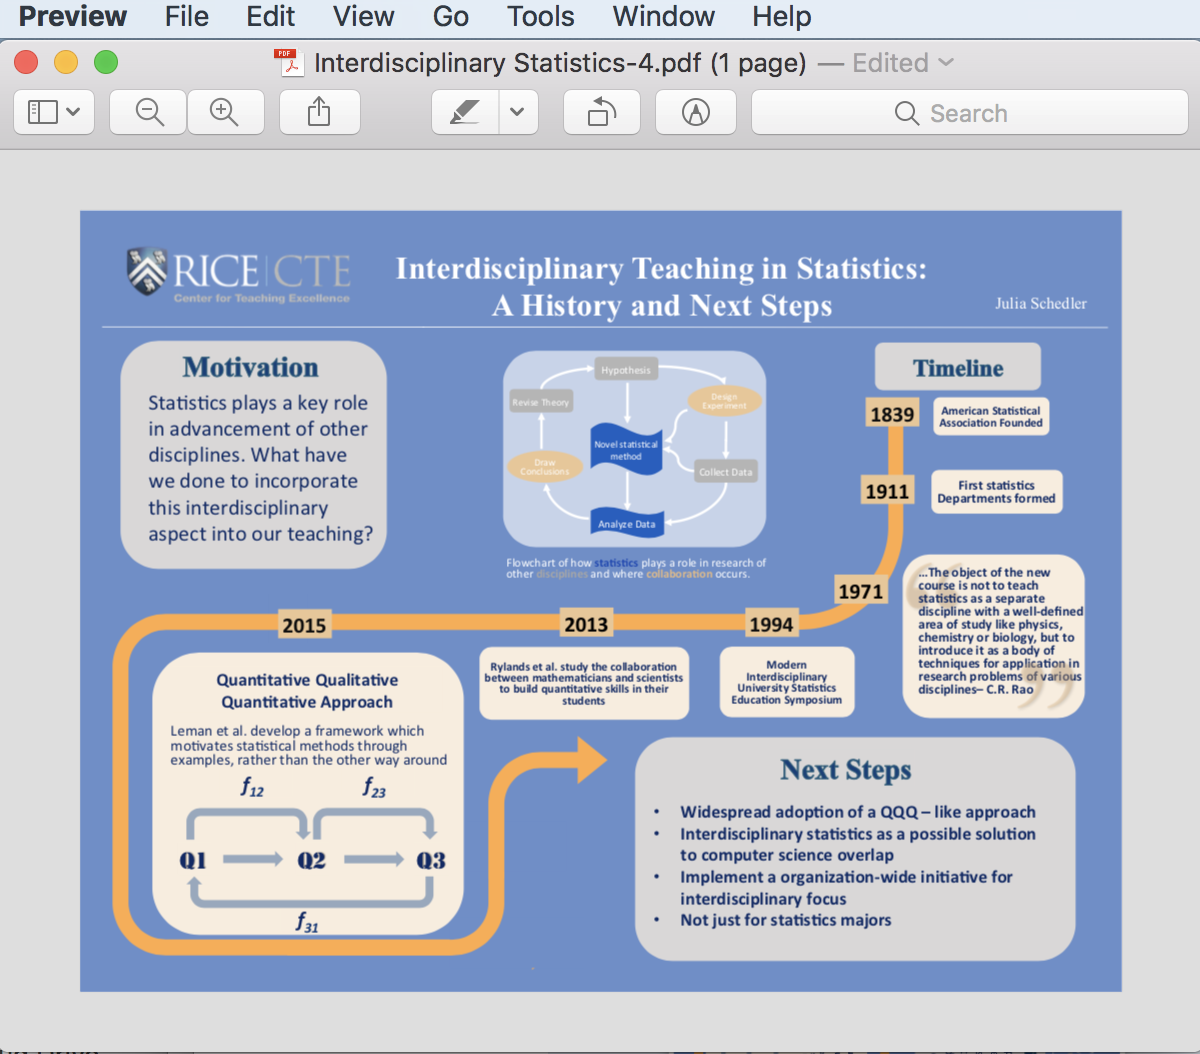
- Make sure your poster looks correct in Preview.
For an example of a poster that looks wrong in Preview, go skip to step 119. - Go to File > Print. Make sure the printer is set to dmc-plotter.
- Portrait orientation should always be selectedMake sure Auto Rotate is selected.
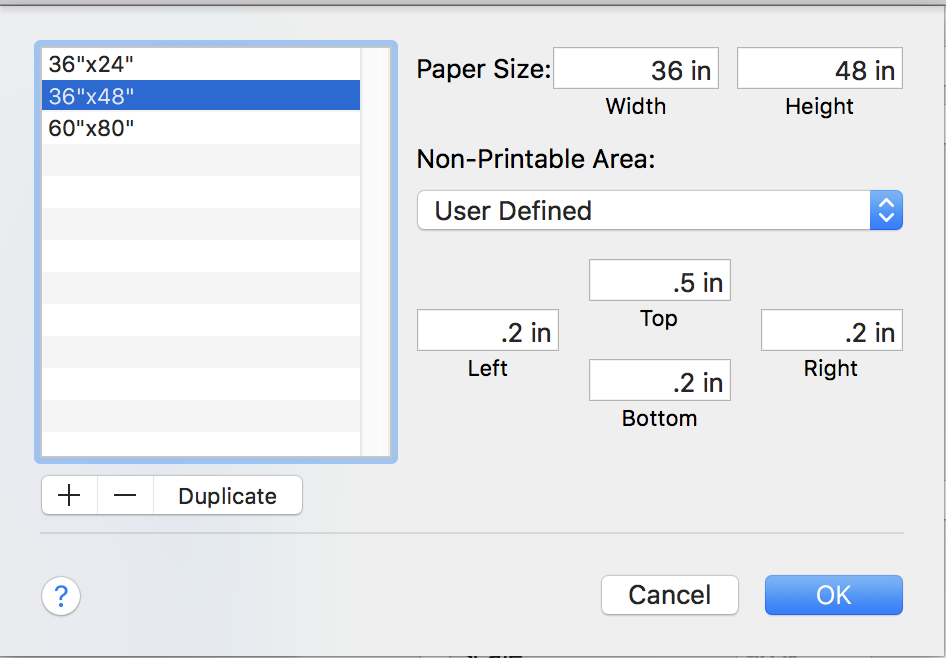
- Choose Manage Custom Size… under Paper Size drop down menu.
- Click on + to add a Custom Paper Size, then change name from "Untitled" to your poster's dimensions -- 36"x48" in this example.
- Input your poster width and height in inches. Note that with portrait orientation Auto Rotate selected in step 3, the width of the poster should be 36" in this case, and 36" paper should be loaded on the plotter. Note that the width is the edge that comes out first from the plotter; the height is how far along the paper roll you are printing.
- Choose User Defined under Non-Printable Area and make sure to leave 0.5 in for top and 0.25 2 in margin for all other sides. Click on OK.
Refer the following screenshot.
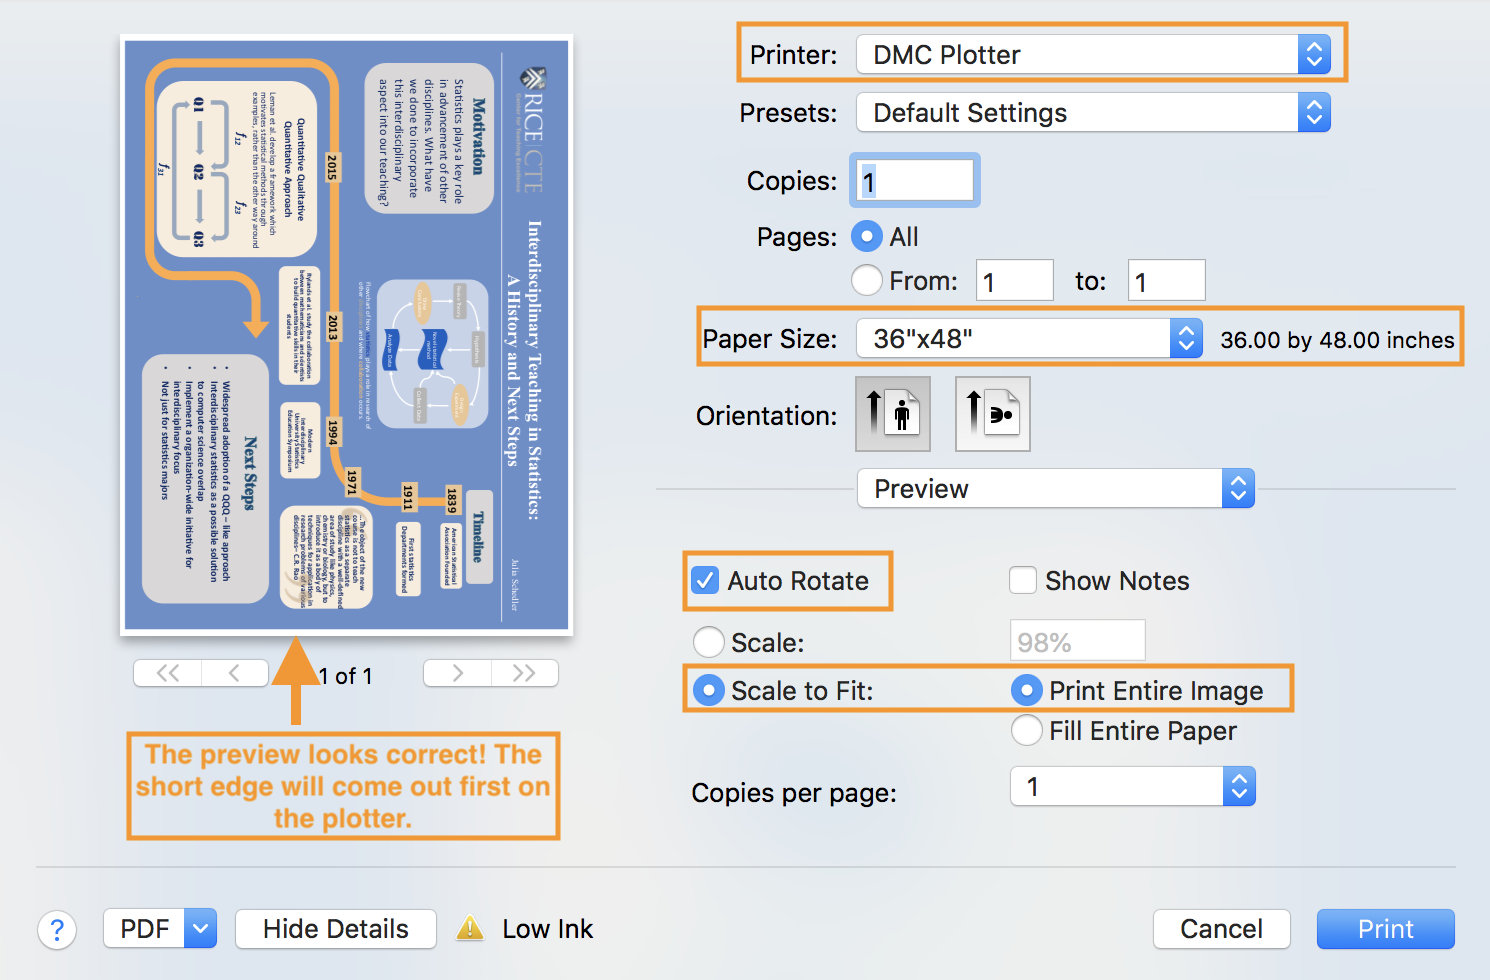
If your poster has no- For posters without margins on all the four sides, refer to the following screenshot for a final check before sending your print job to the plotter. In the following example, the poster is printed at
- 98% scale to have the entire poster plotted.
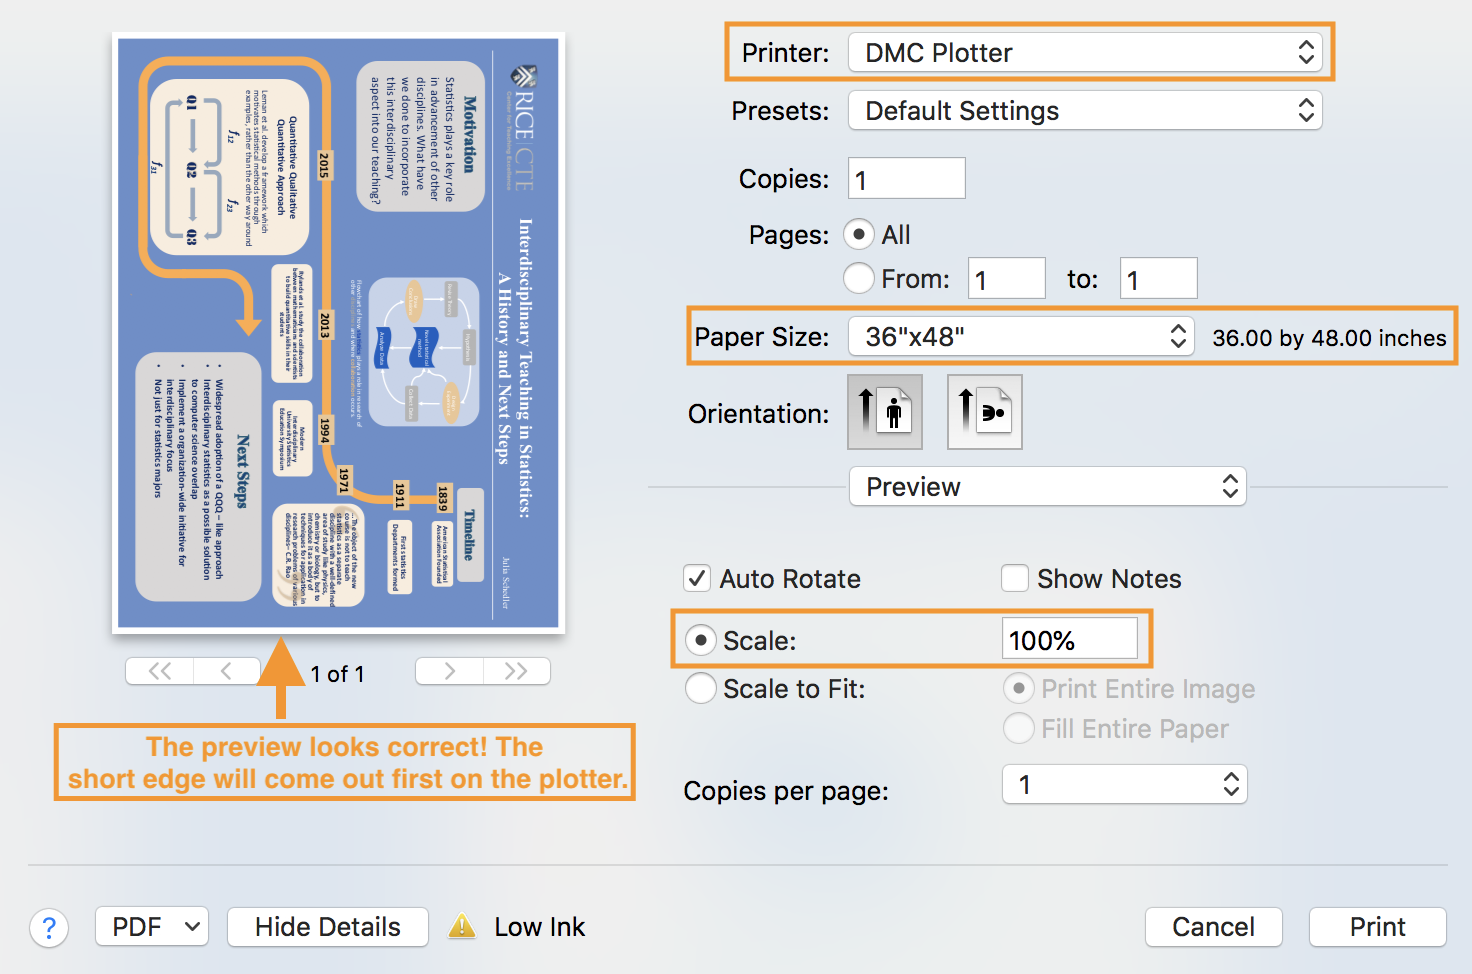
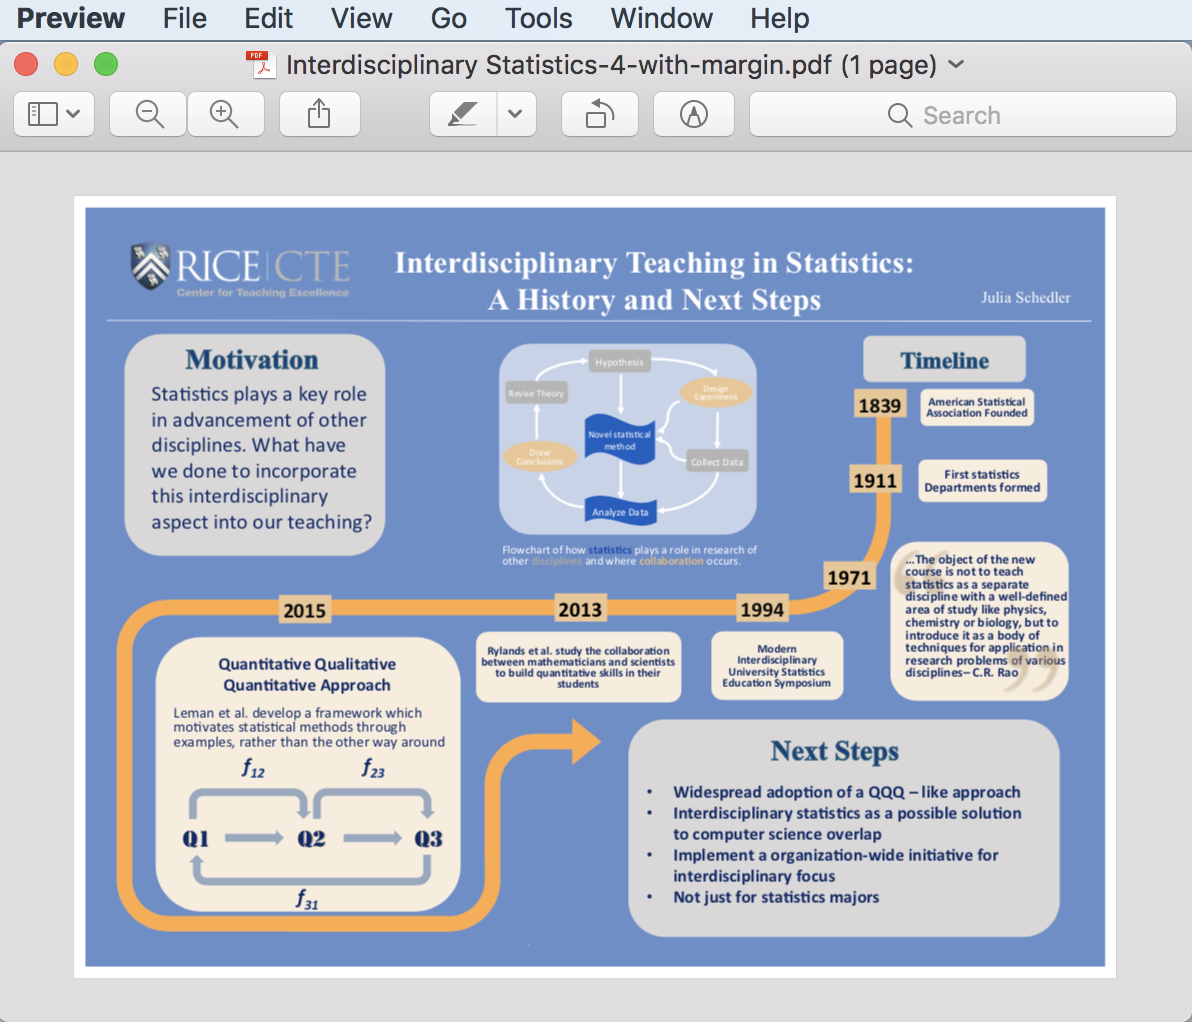
- For posters with 0.5 inch margins on all the four sides,
- instead of Scale to Fit and Print Entire Image at
- 98%,
- input Scale 100%, then Click on Print button. Your poster will be printed in its design size at 100% scale.
- A poster without margins and a poster with margins
- An example of a poster that looks wrong in Preview: The light gray color in the background in the image copied below shouldn't appear. Don't print from Preview if the errors on the poster are so obvious and visible.
- The poster looks right when opening in Acrobat (i.e. no light gray background color appears.). Print from Acrobat instead of Preview.

