...
- Open the App – Animation HD
- To Create new Animation – Click on “+” Sign on upper left corner
- Choose desired animation style/size from dropdown as shown below. We recommend choosing either 1024x768/30fps or 1920x1080/24fps.
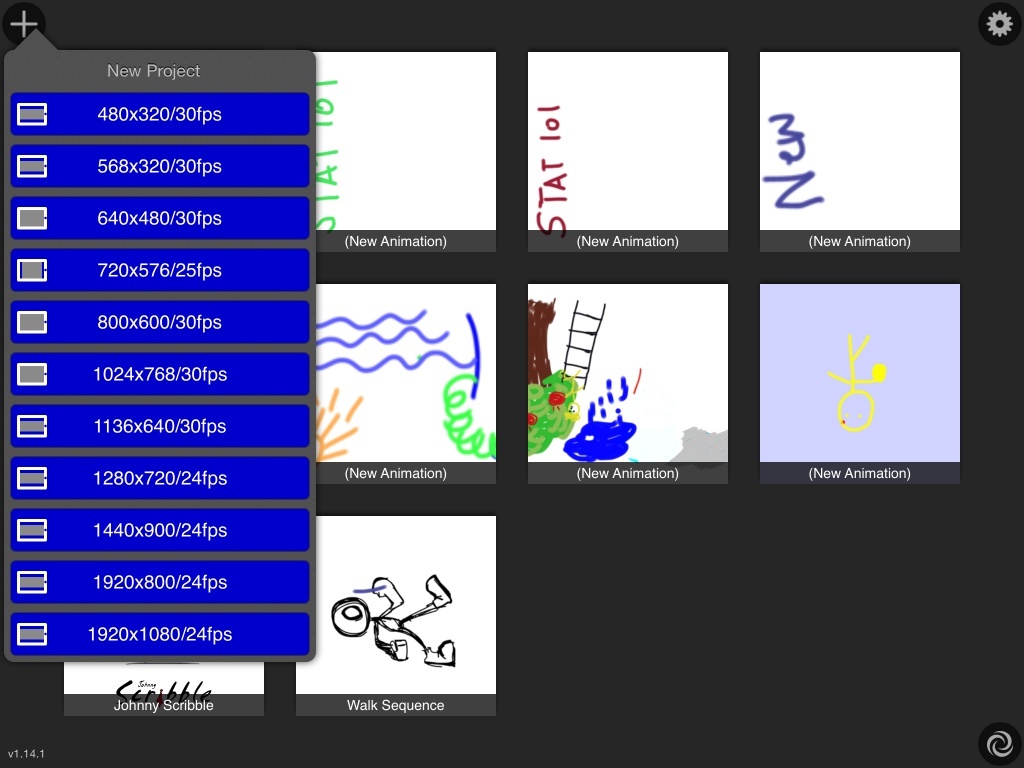
4 4. Click on New Animation. Select desired Frames per Rate. We recommend 24fps or 30fps. Once done Click on Edit Animation to create the animation.
...
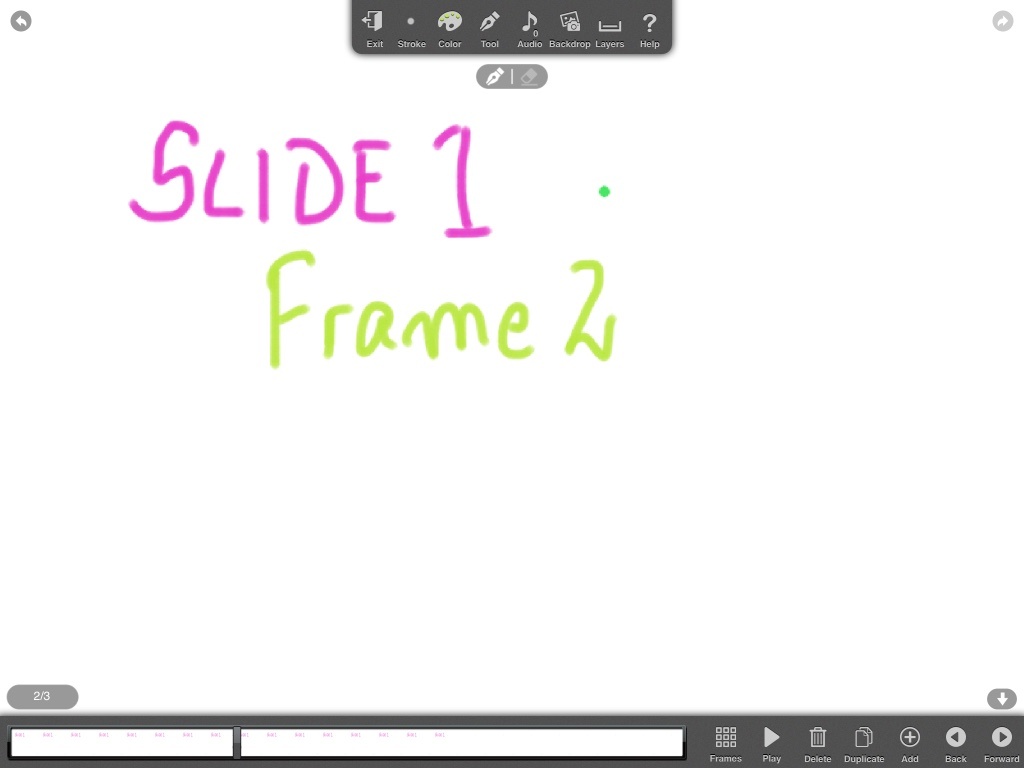
6. Top tool bar has options as

- Stroke: Drawing pen – Choose Ink Flow, Tip width to make it dark or thick
- Color: Choose color of pen
- Tool: Choose kind of drawing tool like paintbrush, eraser, fill, color picker etc. Option to include/click pictures is also in Tool option.
- Audio: Record and Include audio
- Backdrop: Choose background as colored blank page or image
- Layer: Add/Edit/Delete a layer
...
- Frames: Modify frames. Click on frames to edit them i.e add/duplicate/delete
- Duplicate: Duplicate a frame, up to 10 at a time. This function is very important. In general, you want to repeat one frame for at least 1-2 seconds (i.e. 24/30-48/60 frames) for simple scenes or 3-4 seconds (72/90-96/120) for complicated scenes. You also use Duplicate function to build up one complex scene gradually.
- Add: Add a new frame
- Play: Play the animation in a sequential manner
...
Creating a White board Animation
-------------------------------------------------------
- Once the animation is opened to be edited. Choose stroke and pen.
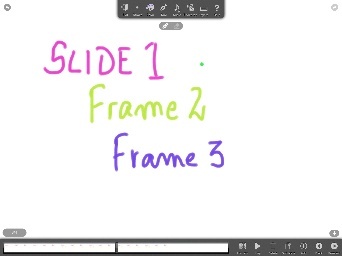
- Default slide acts as Frame 1 IMG
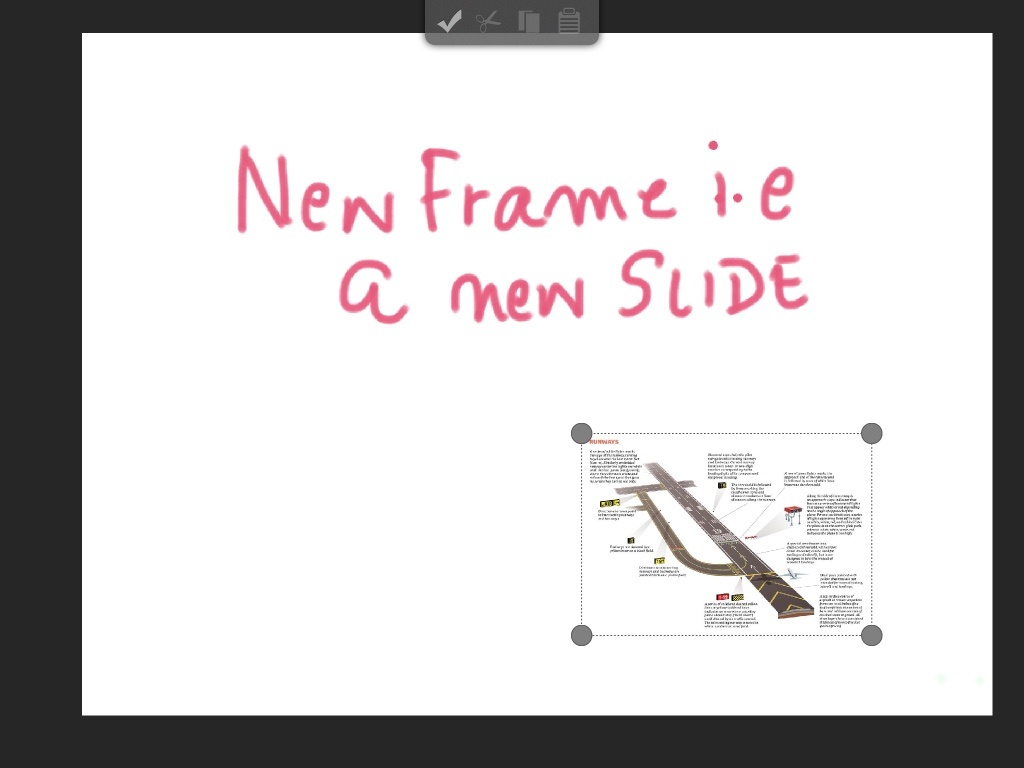
- Click on Duplicate to create a new frame with existing content from frame 1 as shown below.

4. Similarly, keep adding Duplicate frames that act as actions.

5. Once 1st slide is done, click on Add to create a new slide and repeat the same procedure.

6. One can insert/click images from ipad/camera and resize them by dragging corners of image. Image can also be used as a background.
7. Once done, click on Play to view your animation and choose desired frames/second.
8. To Save/share – click on Exit, click on your animation and choose from options given like Upload to YouTube, Twitter etc. IMG
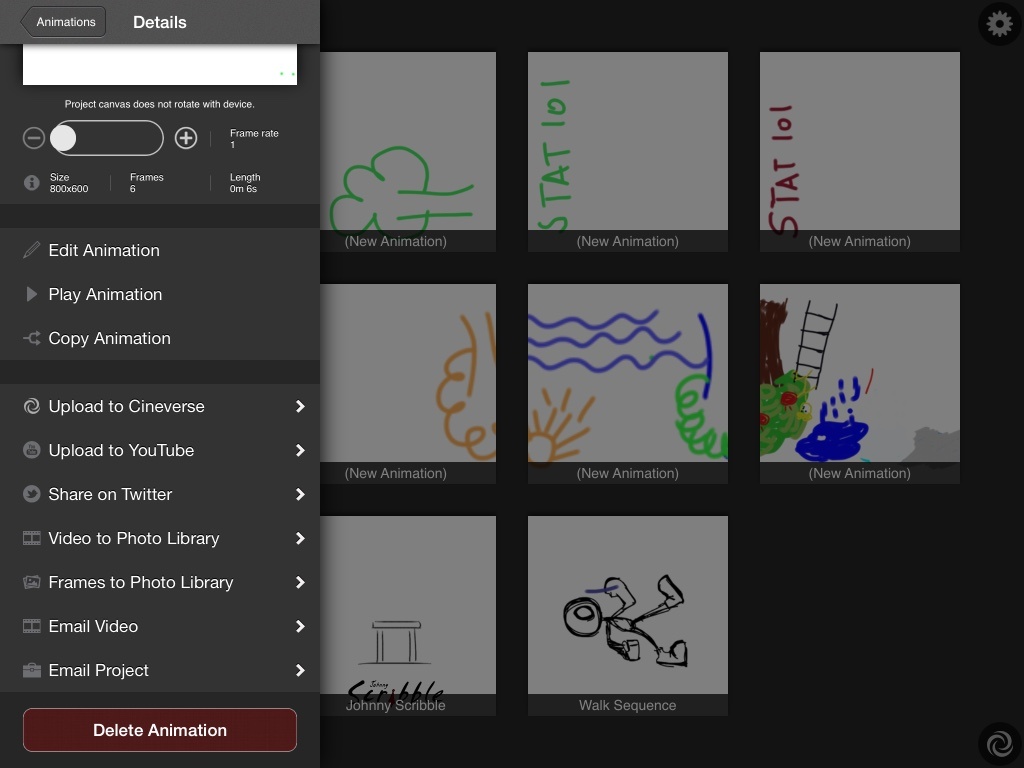
9. If one chooses Videos to Photo Library, Video is saved as an mp4 file in Photos folder in Ipad. It can be transferred to pc by connecting ipad to pc via USB cable.