...
- All DMC video editing stations have Aegisub installed and it looks like this:

- Open Aegisub, simply enter your caption text alongside a start and finish timecode. The first timecode is a start timecode for this line of text; second timecode is the finish timecode; the third timecode is the line duration. You can adjust the timecode according to your video. Press Enter to add this line to the sequence window below.
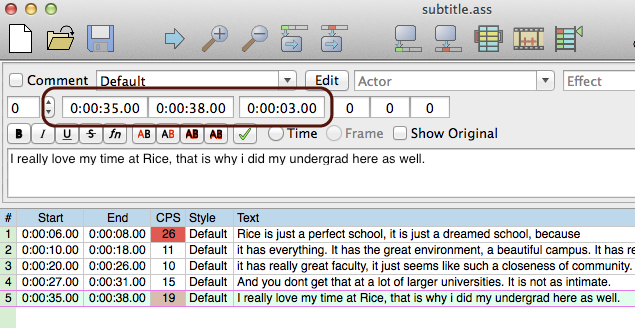
- Use spacebar to play and pause your video with any media player or within Final Cut Pro X while creating SRT file with Aegisub. Try to make the start and end timecode as accurate as possible.
- Repeat the step 2 until all the lines are inputted.
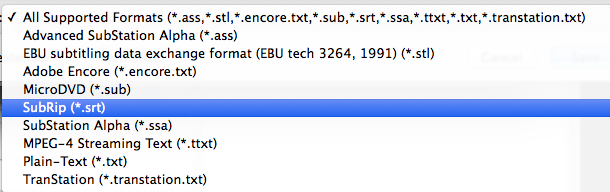
- Go to File > Export As..., continue to click on Export, and be sure to save as SubRip(*.srt) file type.
Step II: Create
XMLFCPXML file with X-Title Exporter
- Open X-Title Exporter from any DMC video editing station
 .
. - Click on
 . Then locate .srt file you exported from Aegisub.
 - You should see .srt file is opened within X-Title Exporter, then click on
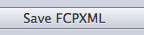 to convert .srt file to FCPXML file.
 - Open your Final Cut Pro X project and go to top menu, click on File >Import>XML...

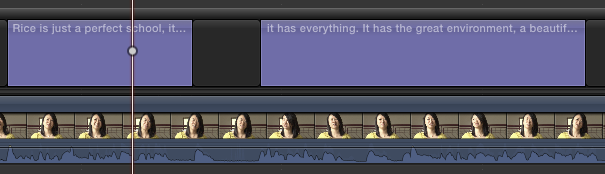
- Import FCPXML file you converted in step 3 into Final Cut Pro X. It will be available in the browser window as a Final Cut Pro X Project. Double click on the FCPXML file to open it into timeline window. You should see subtitle is displayed on the top track as text like this:
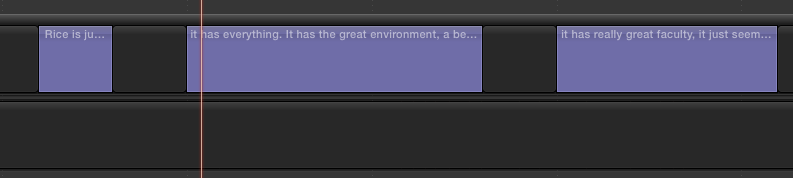
- Place your video right below the subtitle track. If the subtitle is little off, you can always adjust the duration by dragging the edge of each text to shorten or prolong so the subtitle would match the video perfectly.