Prerequisites:
Before you begin the process of installing the Windows 11 update, off-campus users should connect to VPN for the entire update process.
- Ensure all essential data is backed up (Box or any Rice approved cloud storage).
- Ensure your laptop is connected to a power adapter throughout the Windows 11 update.
- If your laptop is connected to a docking station, make sure it remains connected to the docking station during the update process.
Step-by-step guide:
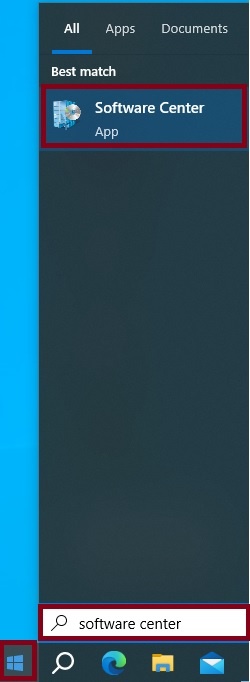
- Open the Software Center app by clicking on the Start Menu, enter Software Center in the Search bar, and select Software Center.
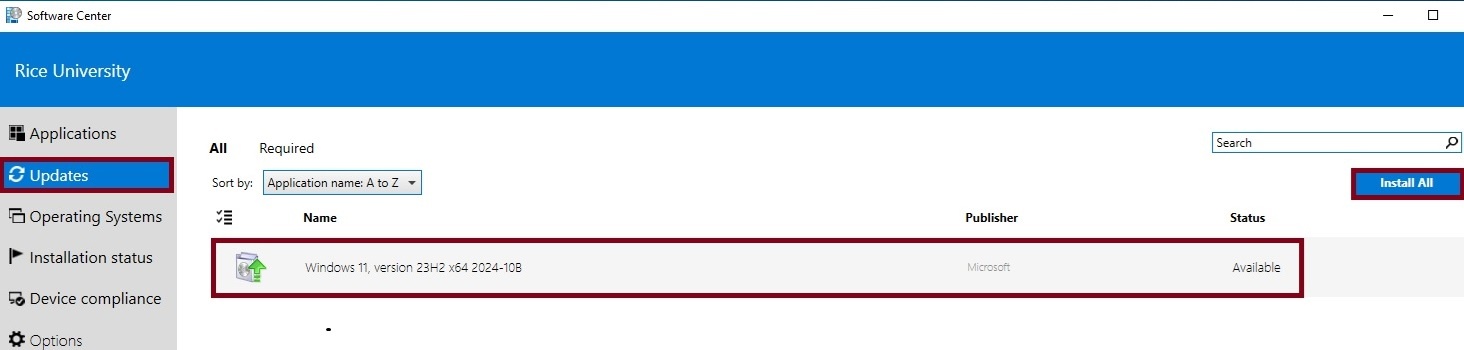
- Go to the Updates Menu. Select Windows 11 and click Install All.
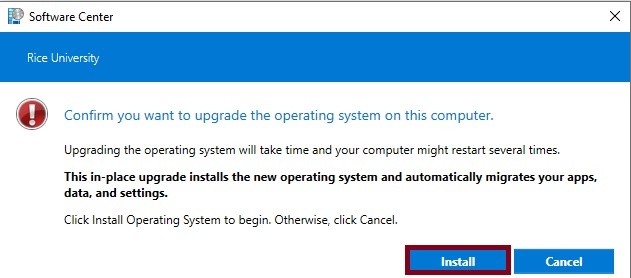
- Click Install.

- Click Install again to confirm you want to upgrade the operating system to Windows 11.
- The installation for Windows 11 is now underway, and it may take 1.5-2 hours to complete. You can continue to use your machine during this stage of the installation process.
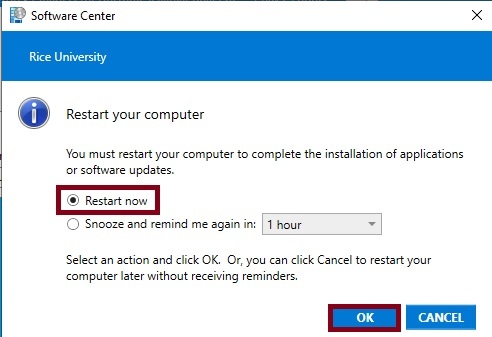
- Once the installation is complete, you will be prompted to restart the machine to complete the Win11 upgrade. Important: before restarting the machine, make sure to save all open documents that you are currently working on to avoid losing data.
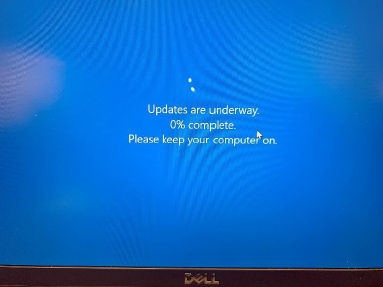
- Select Restart now, and click OK. Note that you will not be able to access the machine while the system is working on the updates. It will take 30-45 minutes to finalize the installation and your computer may restart several times.
- Your machine will restart several times before completing the Windows 11 update process.
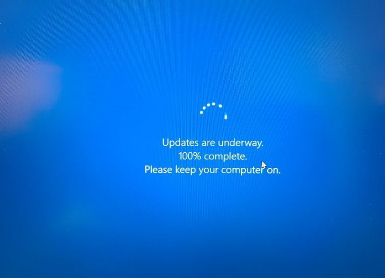

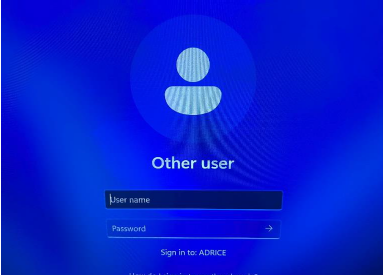
- Congratulations and welcome to Windows 11. The update is complete once you see the time and date on your computer screen. Proceed to log in to the computer with your netid password.