TABLE OF CONTENTS
This guide was created by the staff of the GIS/Data Center at Rice University and is to be used for individual educational purposes only. The steps outlined in this guide require access to ArcGIS Online software and data that is available both online and at Fondren Library.
The following text styles are used throughout the guide:
Explanatory text appears in a regular font.
- Instruction text is numbered.
- Required actions are underlined.
- Objects of the actions are in bold.
Folder and file names are in italics.
Names of Programs, Windows, Panes, Views, or Buttons are Capitalized.
'Names of windows or entry fields are in single quotation marks.'
"Text to be typed appears in double quotation marks."
The following step-by-step instructions and screenshots are based on the Windows 10 operating system and ArcGIS Online software with an Advanced license. If your personal system configuration varies, you may experience minor differences from the instructions and screenshots.
Logging into Rice's ArcGIS Organization
OPTION 1: Login through Arcgis.com
- Go to https://www.arcgis.com/index.html#.
- Click 'sign in'.
- Type in 'ricegis' for Your ArcGIS Organization's URL and click continue.

- Click on 'Rice University' and log in with your NetID and NetID password. You will be prompted by Duo security.
OPTION 2: Login through Ricegis.map.arcgis.com
- Go to https://ricegis.maps.arcgis.com/.
- Click "Rice University" and log in with your NetID and NetID password. You will be prompted by Duo security.
Getting Started with ArcGIS Online
The ArgGIS Homepage
Navigating the Homepage

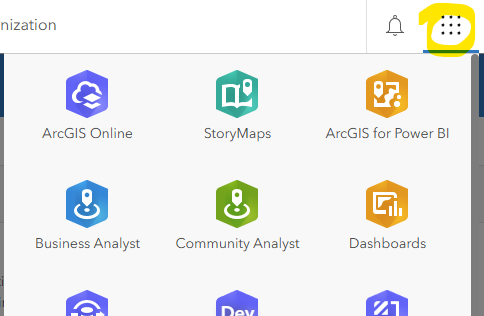
- On the ArcGIS Home page, click the Application Waffle (9 dots in a grid) to open the app options. Here you can view the available apps associated with the Rice University ArcGIS organization. Of note for beginners is the StoryMaps, a great tool for presenting a narrative around your maps and data, and Living Atlas, a collection of high quality geographic data that you can use to build your maps.
- On the top ribbon are the Groups and Content. Groups is for collaborative work and data sharing and content is where all the maps and data that you, Rice, and all of ESRI have created.
- Last, click the magnifying glass symbol (🔍) to conduct a quick Search of available content. Type "Houston" and hit Enter to search.
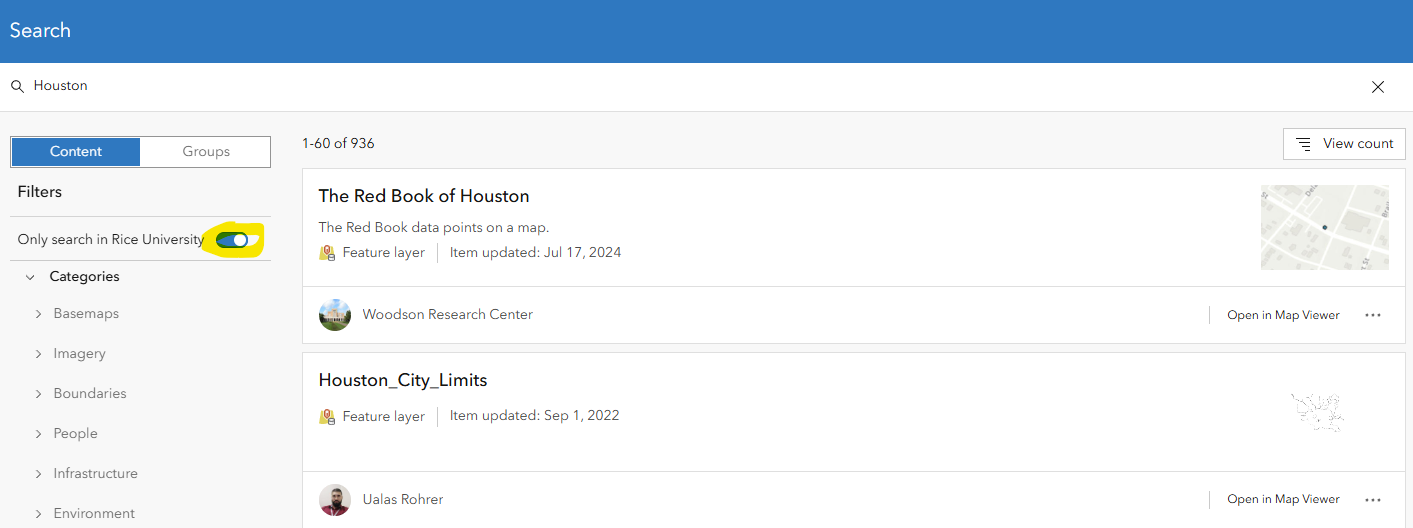
Uncheck the "Only search in Rice University" toggle to view the whole universe of content and data in ArcGIS Online. Try the search again with your own keyword(s). Note that you can filter by item type, sort by Relevence, Date, and popularity.
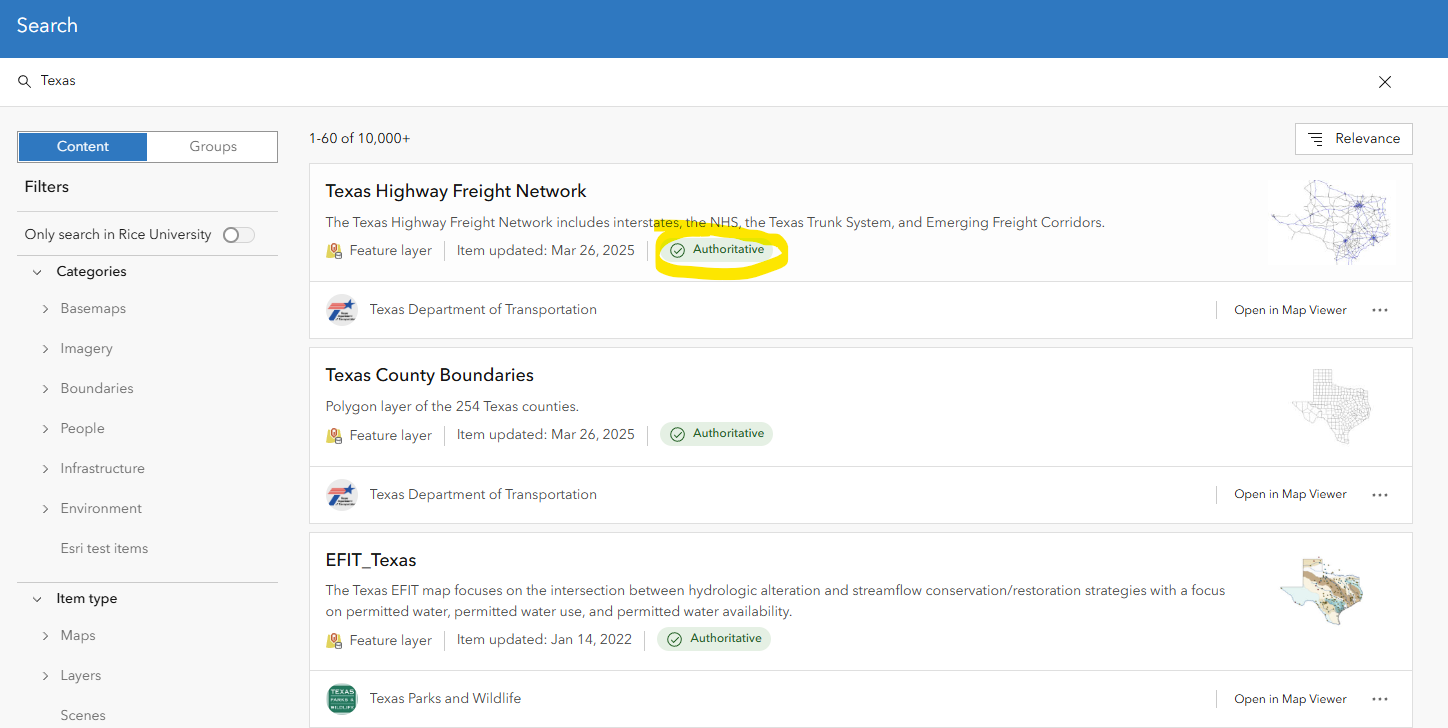
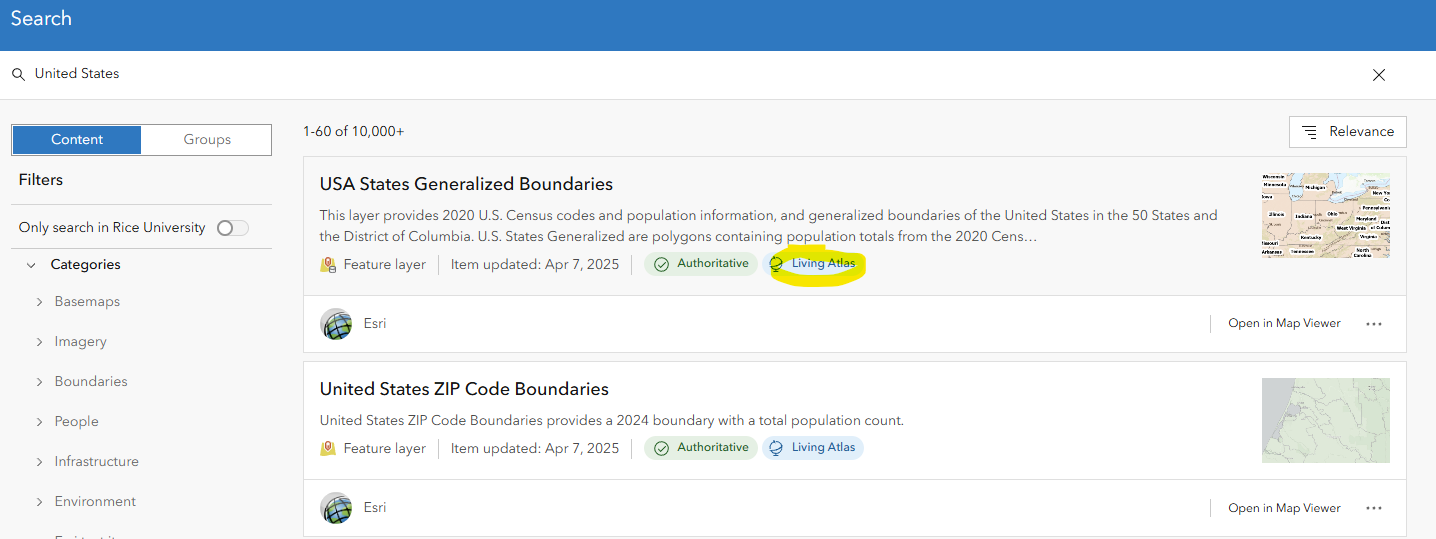
Some data is marked as "Authoritative", meaning it has been flagged as coming from a reliable source. Author content is marked with the "Living Atlas" flag, which shows it is part of ESRI's curated collection of updated data.
Navigating ArcGIS Web Maps
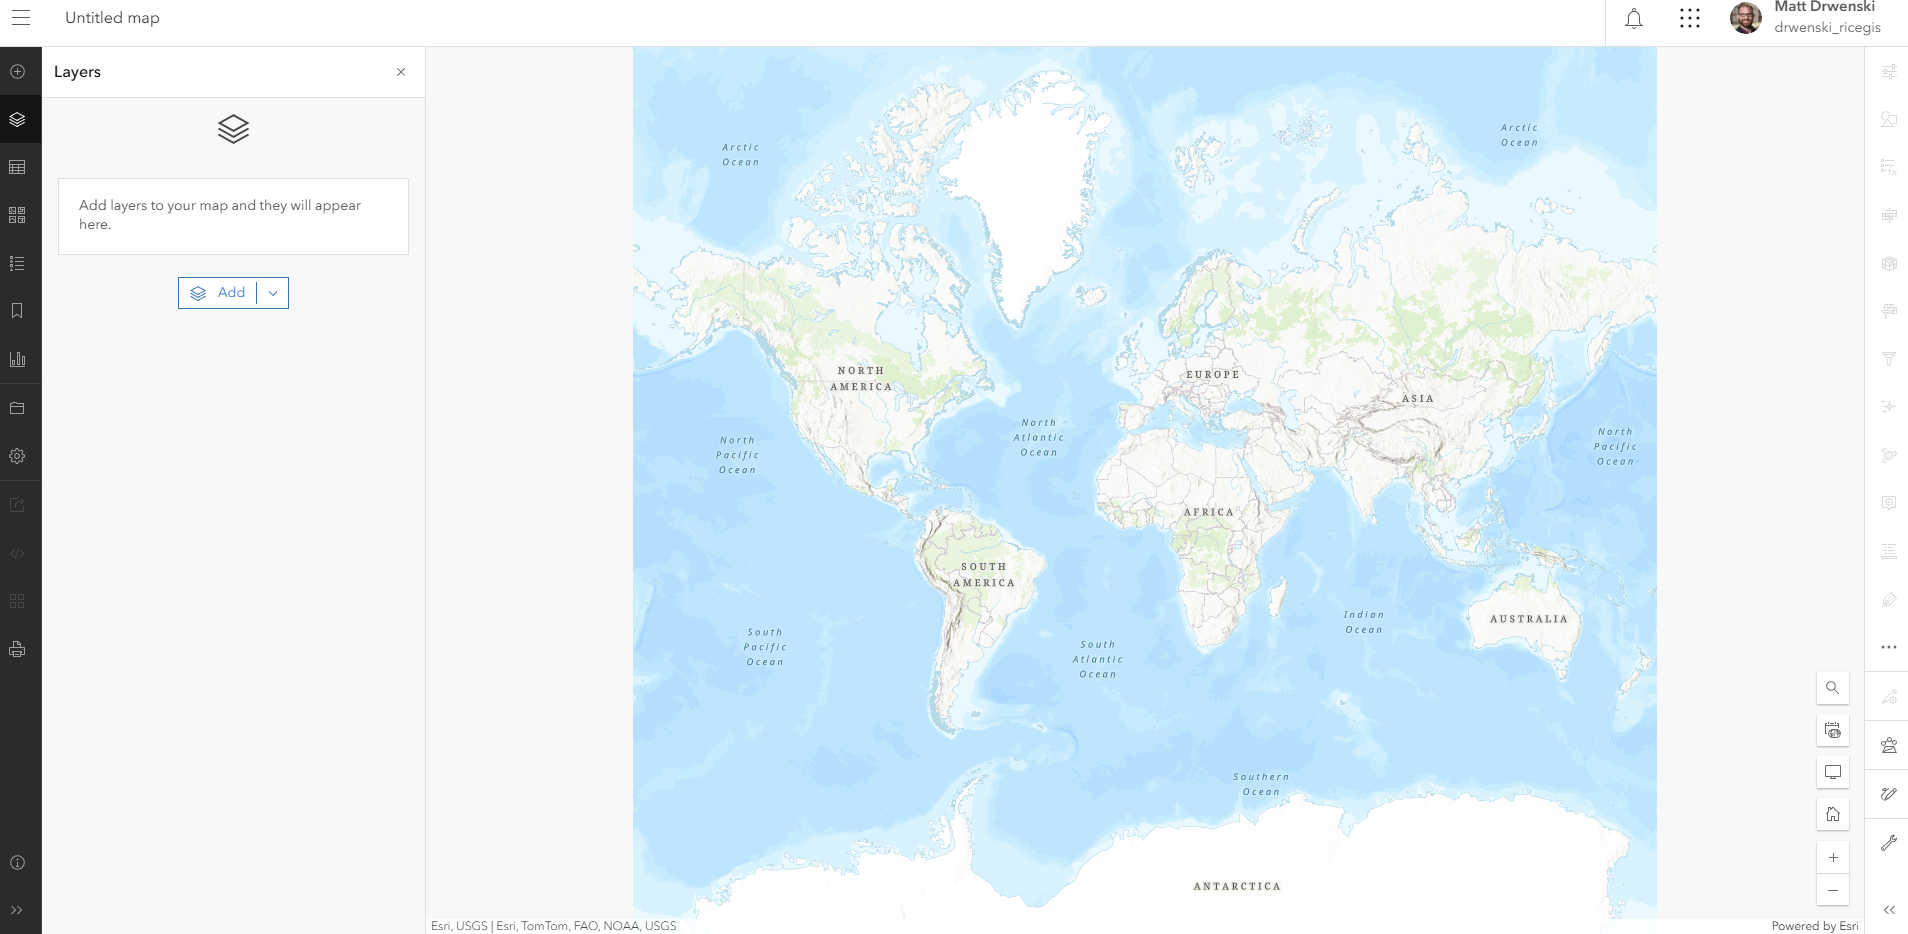
- Click the Maps button in the top ribbon to open your first Web Map. In this section we will go over how to navigate the map and the location of the basic functions.
- Use the mouse wheel scroll to zoom in or out and click and drag to the view. You can also use the "+" and "-" buttons in the bottom right of the screen. Try all three.
- For a more precise extent, hold down the shift key and select drag a rectangle around the United States.
- Rotate the map by right clicking and moving the mouse. Reset with the compass button.
- On the lefthand (dark) menu, select the Bookmark icon (6th from the top). Click "+Add bookmark" and title it "United States."
- What if we need to find a location we are unfamiliar with? Click the "🔍" button on the bottom left of the map and typle "Amarillo" into the search box.
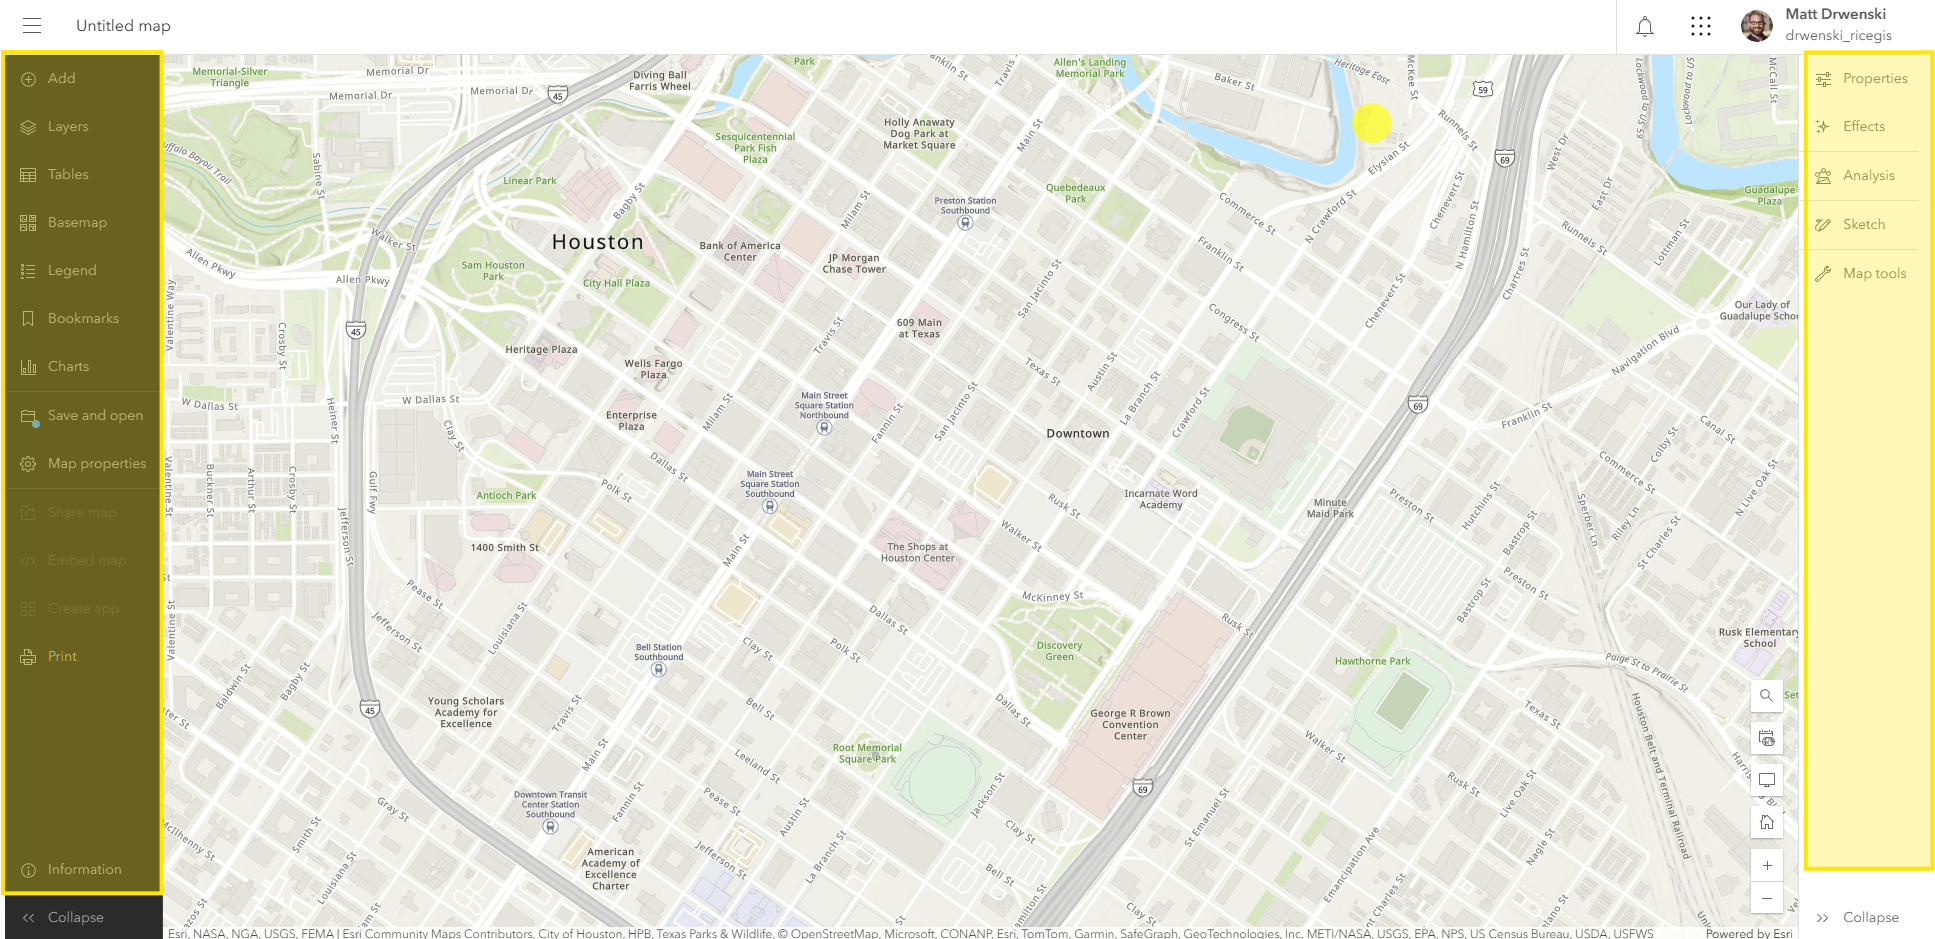
Overall we have two main menus in ArcGIS Online, the lefthand (dark) menu which generally applies to the whole map, and the righthand (light) menu which has specific functions based on what is currently selected. Both can be expanded and collapsed using the Expand/Collapse ">>" arrows at the bottom corners of the page.
Adding a Sketch Layer and Modifying the Basemap
Scetch Layers
Sketch layers allow you to quickly add points, lines, or polygons to mark points of interest. You can also add text to the map.
- Click the "+" button in the righthand menu, then click "Create Sketch Layer."
- Add a Pin for Fondren Library (use either the Search funciton or map). Add a Pin for your apartment, house, or college.
- Add Text for Rice University
- Editing the Sketch Layer. Click the "Edit" in the righthand menu to configure already placed points.
- Add a title in the "Pop ups" section. Add an image from a web-hosted layer.
- Why Use it? Sketch layers are fast and easy to add to the map, however, their total functionality is limited as
- Adjusting the Visibility and Transparency of a layer. Turning layers off/on
- Visibility range
- Transparency
- Turning Layers Off/On 👁️
Modifying the Basemap
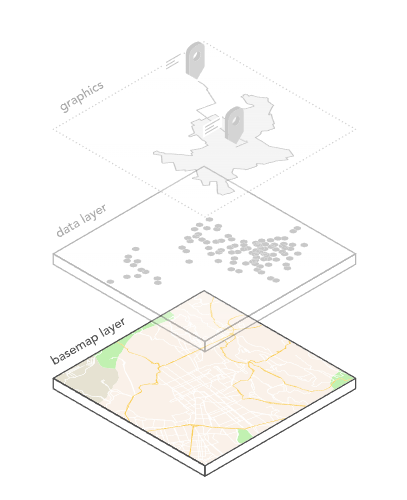
The basemap is a background reference image that provides context for your data. The basemaps here are created by ESRI.
- Click the fourth "Basemap" button
 on the righthand menu.
 - Select a new basemap for your Web Map from the ist provided.
- Click the "Current basemap" to toggle the visibility of any basemap off and on.
Adding Data to a Map
Adding data is the best way to use publicly available data for visualization or analysis. Or, as a starting point for creating your own data.
- To search for data click the "Add +" button, "Browse Layers"
- My Content,
- Living Atlas
- Search "ACS" ACS Vehicle Availability
- METRO Bus Stops
Grouping and Ungrouping Layers
Renaming Layers
Removing Layers
You can also duplicate a layer
Create a filter and Adust Visibility
Visualizing Data
Duplicate Layer, Rename Layer (Total Households)
Select a Field
- Example: Total Area
- Example: Total Households
- Useful! Let's Duplicate and Save
- Example No, 1, 2, 3, 4+ Vehicles
- Show the "auto-pick" of the symbology
- Example: No Vehicle Available
- Modify
- Gradiatn Colors, Style Options
- Theme, High-to-Low, Above-and-Below
- Color Scheme
- Histogram of Data
- Classify Data
- Add a normalization field. Divide by Total Households
What's in a Layer?
- Open the Layer Attribute Table
- Use the table to find the 10 highest values for the Percent of households with no vehicle available field.
These tracts have values above 36.8 percent. - Add a Filter to highlight important data
Quickly Add another Layer
- "COH Metro"
Play around with Styles
- Gradiatn Colors
- Theme
- Color Scheme
- Classify Data
Save and Sharing Settings
Breakout Room
- Go to “Living Atlas” and search “ACS”
- Create a new map by and repeat what we did with a topic and location of your choice.
- Be ready to share with your partner and the class.
ACS
Part II: Adding Data
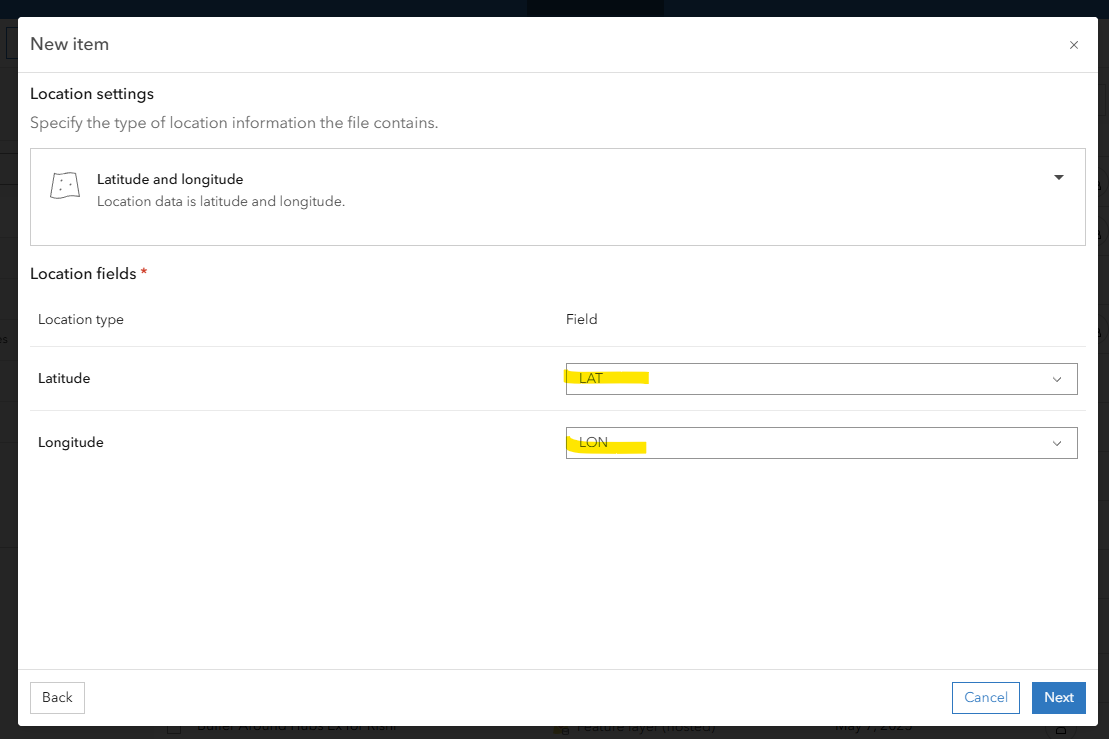
Georeferencing LatLong Data
Add a new Item
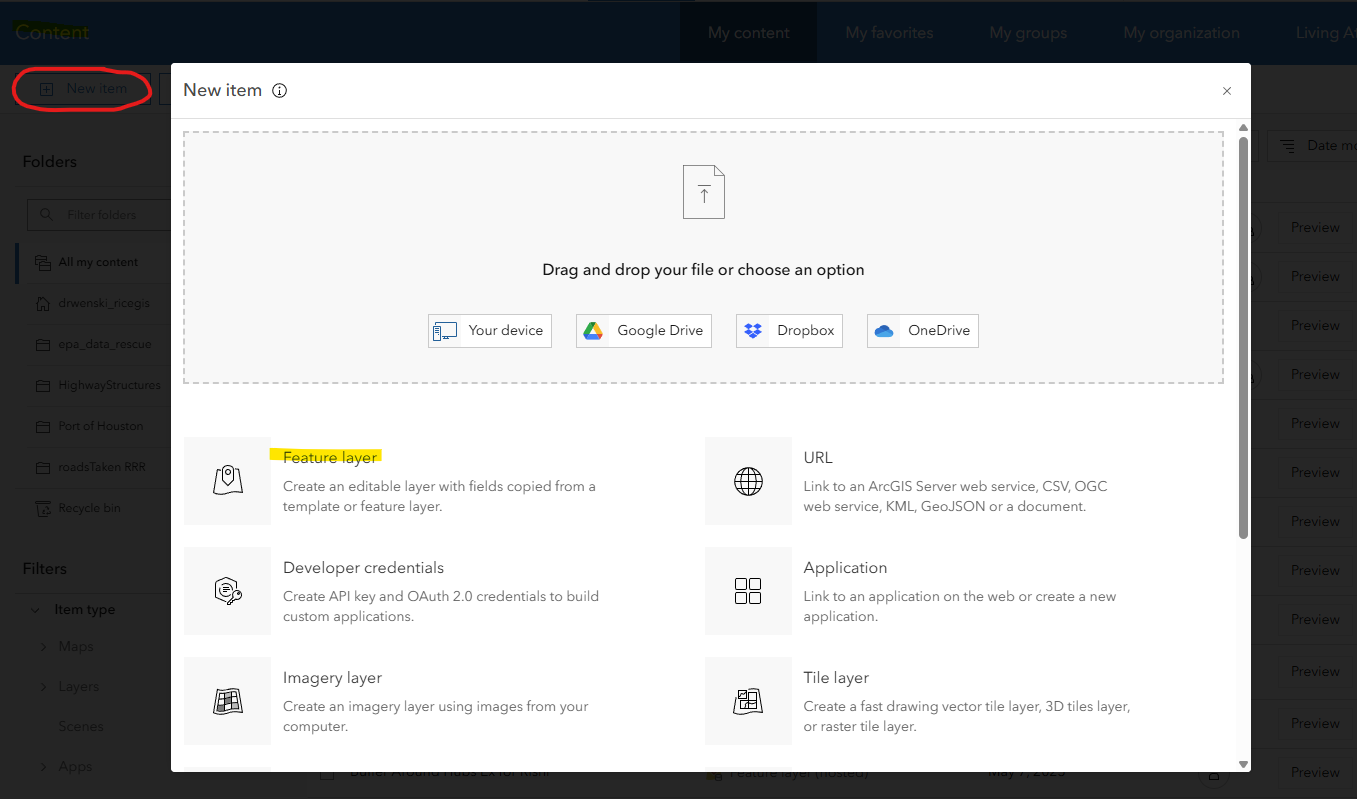
Upload a file
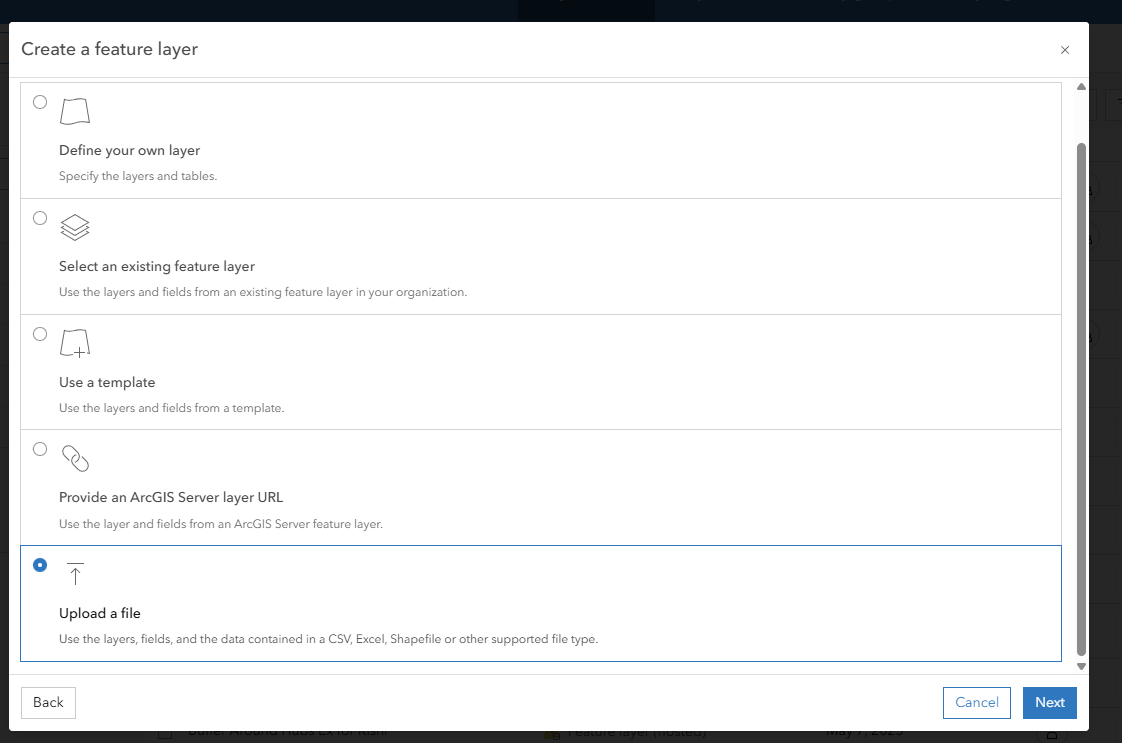
Identify Latitute and Longitude data
Global Average Wind Speeds by Month and Altitude
https://www.arcgis.com/home/item.html?id=3de721e9c4d84e72ac65c761f7d47668

Adding Data using Addresses
Spatial Joines
Goals:
- Navigate AGOL
- Create a Web Map
- Add and manage data on a webmap
- Customize Symbology to illustrate a geospatial problem
- If Time, adding a chart to the map, add charts to popups
- If Time, upload a
Intro:
- New Material
- Example Map
- Breakout Rooms Map
Temp Outline
- How to navigate ArcGIS Online
- Menus, apps, content, settings
- How to Add a Sketch Layer
- How to Add Data
- Change Order of Layers
- Create a Layer Group
- How to configure Popups
- Adding Data (requires Publisher?)
- Add a SS
- Add a Media Layer
- Sharing Your Map
FUTURE: Creating a Layer with Lat/Long, Creating a Layer with Georeferencings (After upgrading everyone to publisher)
Future: Explaining Point, Line, Polygon. Vecter/Raster/Image
Future: Popups and Charts
Navigating a Layer Data
Layers:
"ACS Vehicle Availability" ESRI
COH METRO BUS STOPS
Houston Census Tract Demographics
Houston Freeways
Operations:
Summarize Within