 |   |  |
|---|---|---|
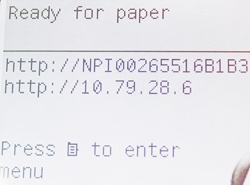
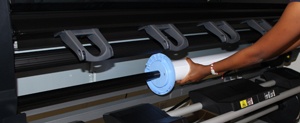
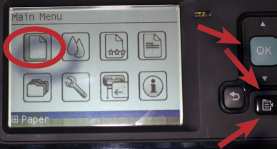
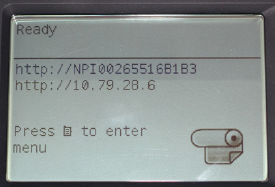
| 1. Make sure the plotter is at the "Ready for paper" screen. | 2. Gently push the paper roll into the | 3. Push the menu key then make sure "Paper" is highlighted and push "OK". |
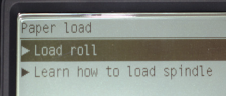  | 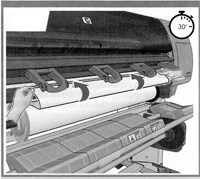 |   |
| 4. Select “Paper load”, then “Load roll”. The plotter will ask you to feed paper through the roller. | 5. Feed the paper on the front side of the roller and up into the printer. Make sure that you are not rolling the paper only around the black spool, but in the diagonally angled grey metal slot. Gently push the paper until you hear a beep sound AND feel the paper is slowly getting pulled by the plotter. DO NOT lift the blue lever and try to force feeding the paper, since the plotter auto-load the paper itself after it detects the paper. | 6. If plotter is not able to detect the paper, it will cancel load (see above top figure). Please follow the menu, press OK button. Follow 3 steps in the bottom figure to remove paper. After this, the plotter should let you feed paper through the roller again -- refer step 5. |
 |  | 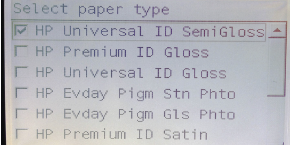 |
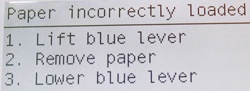
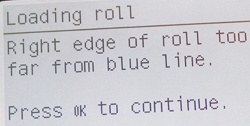
7. If semi-glossy paper with media If paper is aligned, the plotter should If paper is misaligned, refer to | 8. If canvas matte paper is being loaded, you will need to manually select the paper type. For our standard canvas material, select “Fine Art Material” then scroll down to “Canvas”. Roll length should be Unknown. You need to advance canvas after loading. Refer Tips and Tricks on top of this page for instruction. Note the plotter cannot cut the canvas, so it cannot print media tracking information on canvas roll. Therefore paper type and length cannot be determined by the plotter, we have to manually select this info. | 9. If you are loading a new roll of semi-glossy material select “Photo Paper” then |
 |  |  |
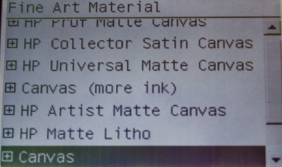
| 10. If paper is misaligned, you will see above message. Follow the menu, press OK button on the plotter to continue. | 11. Follow the menu, open the window, lift blue lever to If you see the message shown in step 6 asking you | 12. Adjust the paper and make sure right edge is aligned with blue line. Then close the window and lower the lever. If the plotter is still complaining, then follow the menu, repeat steps 10-11 until the paper is aligned and the plotter is at the Ready screen. |
Overview
Content Tools